Love this? Pin it for later! 📌
I still remember the first time I slipped a batch of these black-bean brownies into the faculty lounge at my daughter’s elementary school. The pan came back empty in record time, and the only feedback was, “Tell the mystery baker these are the fudgiest brownies I’ve ever had!” When I finally confessed the secret ingredient, jaws dropped. That was six years ago, and the recipe has since traveled through three states, two book clubs, and countless lunchboxes. It’s the dessert I lean on when the pantry looks bleak, when I need a last-minute hostess gift, or when I simply want chocolate without the sugar crash. No mixer, no fancy flours—just a can of beans, cocoa, and a handful of staples you probably have right now.
Why This Recipe Works
- Pantry-proof: Canned beans, cocoa powder, and oats keep indefinitely—no grocery run required.
- One-bowl wonder: Everything whirls together in the blender; zero dishes to wash later.
- High-protein sweet: Each square boasts 6 g of plant protein for sustained energy.
- Gluten-free & dairy-free: Naturally wheatless and vegan—perfect for mixed-diet crowds.
- Kid-approved fudgy: No bean taste; just deep chocolate flavor and a truffle-like center.
- Freezer-friendly: Double the batch, freeze squares, and you’re 30 seconds from dessert anytime.
Ingredients You'll Need
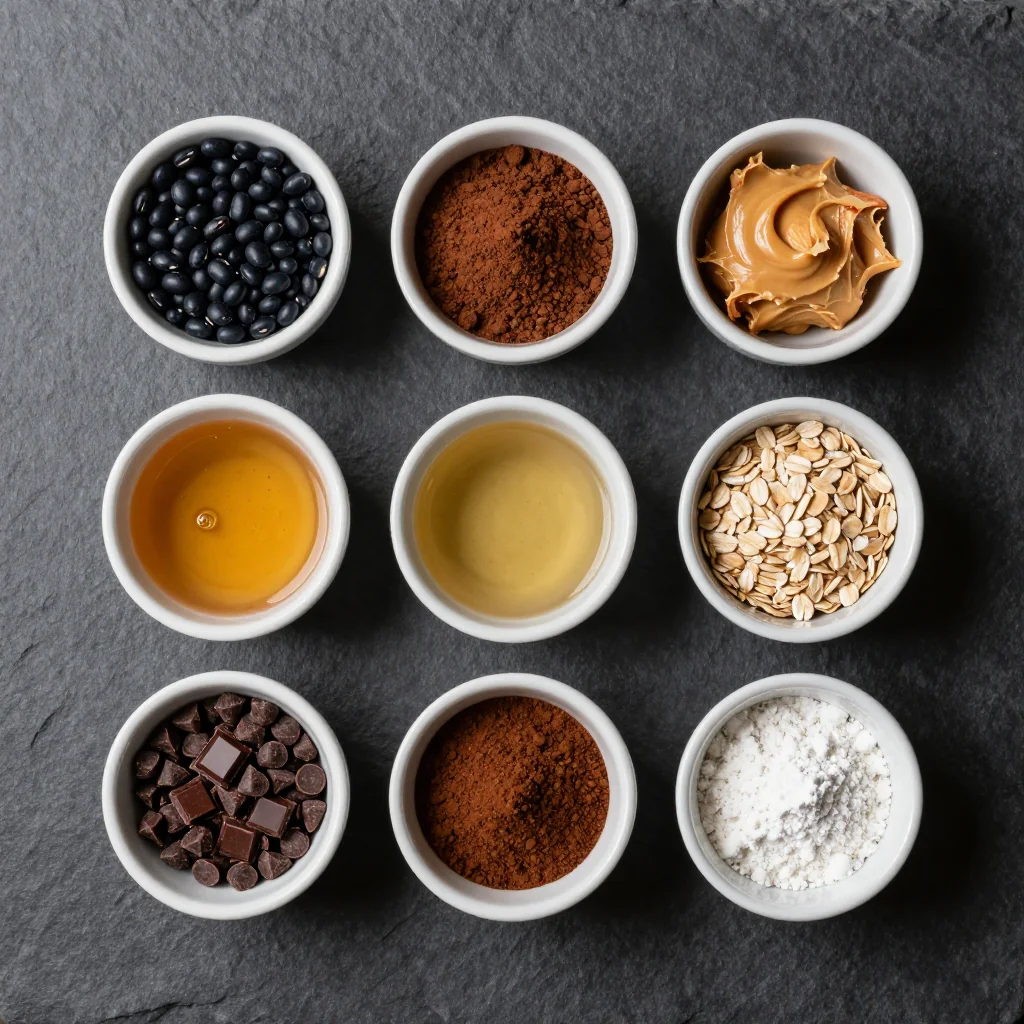
Beans are the soul of this recipe. Reach for low-sodium or no-salt-added black beans; they keep the flavor neutral and let the cocoa shine. If you only have salted beans, rinse them vigorously under cold water for 30 seconds and pat dry—this removes up to 40 % of the sodium without softening the skins.
Old-fashioned rolled oats give structure while remaining undetectable once blended. If your household is gluten-intolerant, buy oats labeled “certified gluten-free” to avoid cross-contact. Quick oats work in a pinch, but steer clear of steel-cut; they’ll stay grainy no matter how long you blitz.
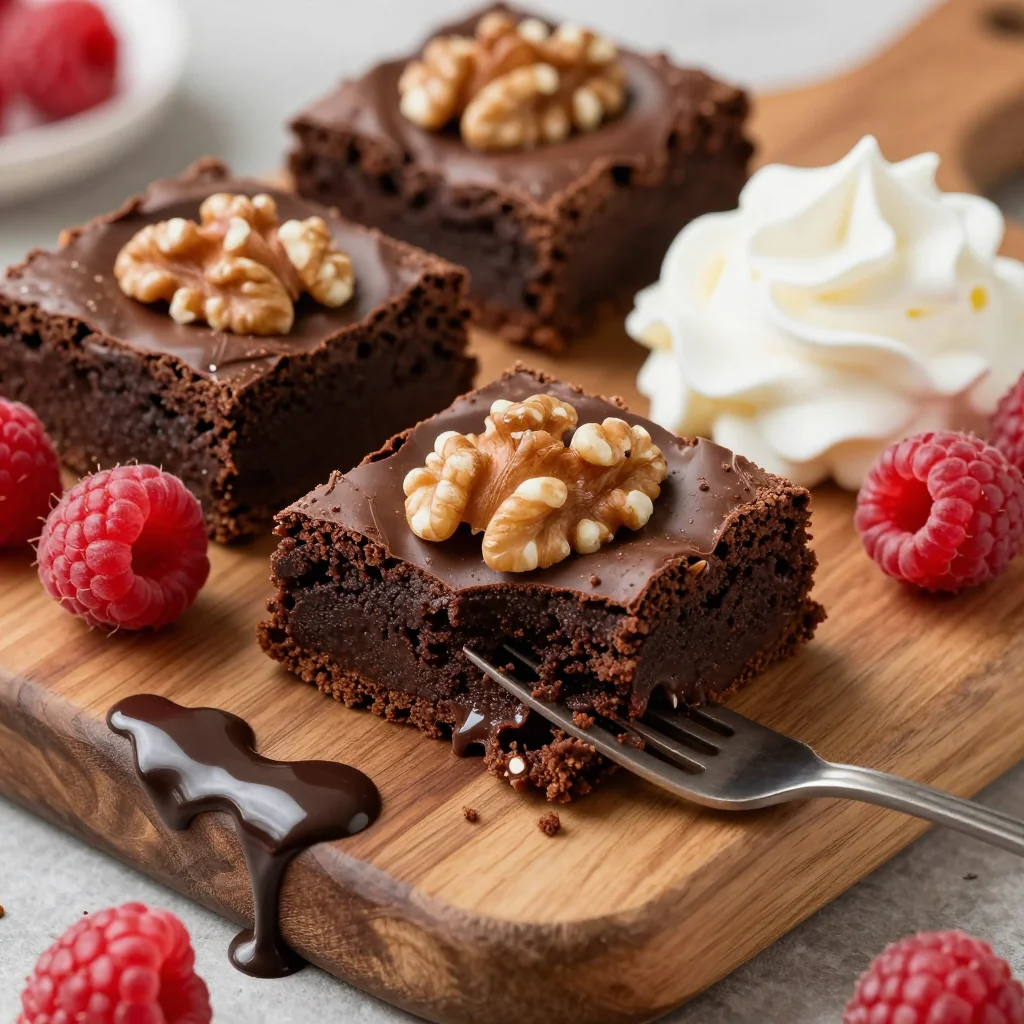
Dutch-process cocoa delivers the café-worthy darkness you see in the photos. Natural cocoa is acceptable, yet the flavor will read lighter and slightly tangy. Whatever you choose, sift it first—those stubborn lumps refuse to hydrate evenly.
Maple syrup is my liquid sweetener of choice for its gentle caramel notes. If you’re out, swap in an equal volume of honey (for non-vegans) or date syrup. Avoid granular sugars; they don’t dissolve in the absence of heat and can leave sandy pockets.
Coconut oil keeps the brownies vegan and dairy-free, but unsalted butter or a neutral oil such as avocado works if you eat dairy. Melt it first so it emulsifies instantly with the other liquids.
Vanilla might feel optional, yet it rounds the chocolate edges and masks any lingering “beany” aroma. Use pure extract, not imitation—this is dessert, after all.
Instant espresso powder is the quiet hero. A mere ½ teaspoon amplifies cocoa’s complexity without tasting like coffee. If caffeine is a concern, substitute decaf espresso or simply omit.
Baking powder supplies lift so the batter doesn’t bake into a chocolate brick. Check the expiration date; old leaveners yield dense results.
Dark chocolate chips folded in at the end give melty pockets and visual appeal. Look for 60–70 % cacao for balanced sweetness, or use cacao nibs for a zero-added-sugar crunch.
How to Make Pantry Black Bean Brownies For Healthy Dessert
Prep the pan & oven
Set a rack in the center and preheat to 350 °F (175 °C). Line an 8-inch square metal pan with parchment, leaving wings on two sides for easy lifting. Lightly grease the exposed surfaces with coconut oil spray; this prevents the corners from sticking.
Rinse the beans
Pour the can into a colander and rinse under cool water for 30 seconds, swirling with your fingers. Shake off excess moisture, then pat dry with a kitchen towel. Removing surface liquid prevents watery batter and off-flavors.
Blend the wet base
Add beans, maple syrup, melted coconut oil, vanilla, and espresso powder to a high-speed blender. Blitz on high for 60 seconds until silk-smooth, stopping to scrape the sides once. A food processor works but may leave tiny flecks of bean skins.
Add dry ingredients
Sprinkle oats, cocoa, baking powder, and salt over the puree. Pulse 8–10 times, then run the motor on low for 20 seconds. Over-mixing activates the starch and can create a gummy crumb, so stop as soon as the color is uniform.
Fold in chips
Transfer the thick batter to a bowl and stir in ½ cup chocolate chips by hand. Reserving a tablespoon to sprinkle on top guarantees that bakery-style photo finish.
Spread & smooth
Scrape the mixture into the prepared pan. Use a lightly oiled offset spatula or the back of a spoon to level the surface. The batter is dense, so press it into the corners to avoid air pockets.
Bake just until set
Slide the pan onto the center rack and bake 18–22 minutes. The edges will look matte and slightly puffed, while the center should jiggle like set gelatin when you gently shake the pan. Over-baking is the cardinal sin; it robs the brownies of their fudgy heart.
Chill for clean slices
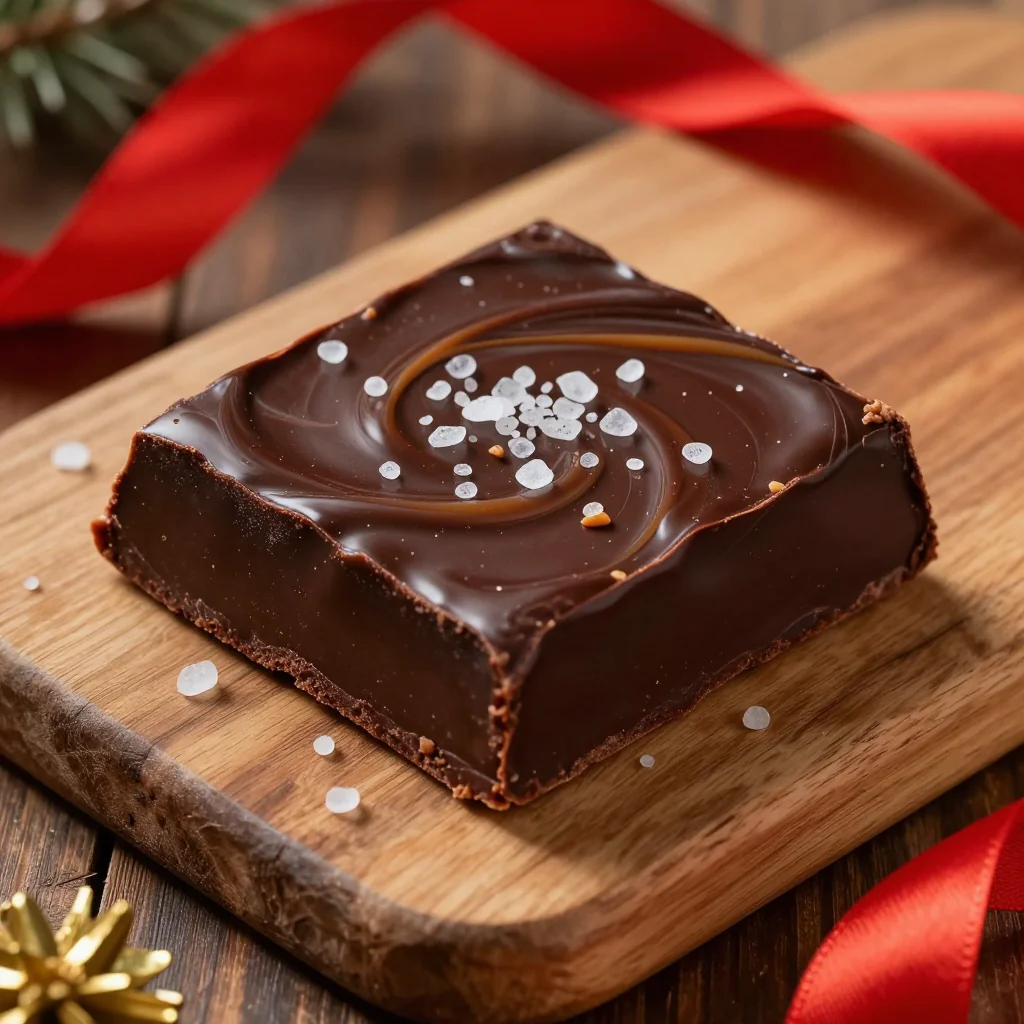
Place the pan on a wire rack and let cool 30 minutes. Transfer to the refrigerator for at least 1 hour; cold brownies firm up and slice like a dream. Lift the parchment wings, cut into 16 petite squares (they’re rich), and dust with flaky salt for a gourmet touch.
Expert Tips
Weigh for accuracy
One cup of beans can vary by 20 g. Drain, rinse, then weigh out 240 g for consistent moisture every batch.
Add 1 Tbsp milk if dry
If your oats are super absorbent, the batter can seize. A splash of any milk loosens it without thinning flavor.
Test with your finger
A toothpick comes out wet even when done. Instead, gently press the center—your fingerprint should bounce back slowly.
Flash-freeze squares
Place cut brownies on a sheet pan, freeze 30 min, then bag. They won’t stick together, and you can grab one on demand.
Double the batch
Use a 9×13 pan and increase bake time to 25 min. You’ll have 32 lunchbox-ready squares that disappear fast.
Salt the top
A whisper of flaky salt right after baking heightens sweetness and gives that artisan bakery vibe everyone loves.
Variations to Try
- Mocha walnut: Swap ¼ cup cocoa for Dutch cocoa plus 1 Tbsp instant coffee granules; fold in ¾ cup chopped toasted walnuts.
- Peppermint twist: Replace vanilla with ½ tsp peppermint extract and top with crushed candy canes for holiday plates.
- Peanut-butter swirl: Warm ⅓ cup natural peanut butter until runny, dollop over the batter, and marble with a toothpick.
- Spiced Mexican: Add ½ tsp cinnamon and a pinch of cayenne; sprinkle with cinnamon-sugar before baking.
- Berry blast: Press ½ cup frozen raspberries into the top; the tart pop contrasts beautifully with rich chocolate.
- White-chip coconut: Use cacao butter instead of coconut oil and fold in ½ cup toasted unsweetened coconut plus white-chocolate chips for a tropical vibe.
Storage Tips
Room temp: Place brownies in an airtight container with parchment between layers; they stay moist 3 days at 68 °F (20 °C). Avoid direct sunlight or they’ll sweat and become sticky.
Refrigerator: Chilled brownies firm up like truffles and keep 7 days. Wrap individually in beeswax wrap before boxing to prevent fridge odors from creeping in.
Freezer: Flash-freeze squares on a sheet pan, then transfer to a zip-top bag with the air pressed out. Store up to 3 months. Thaw 15 min at room temp or microwave 20 seconds for a just-baked feel.
Frequently Asked Questions
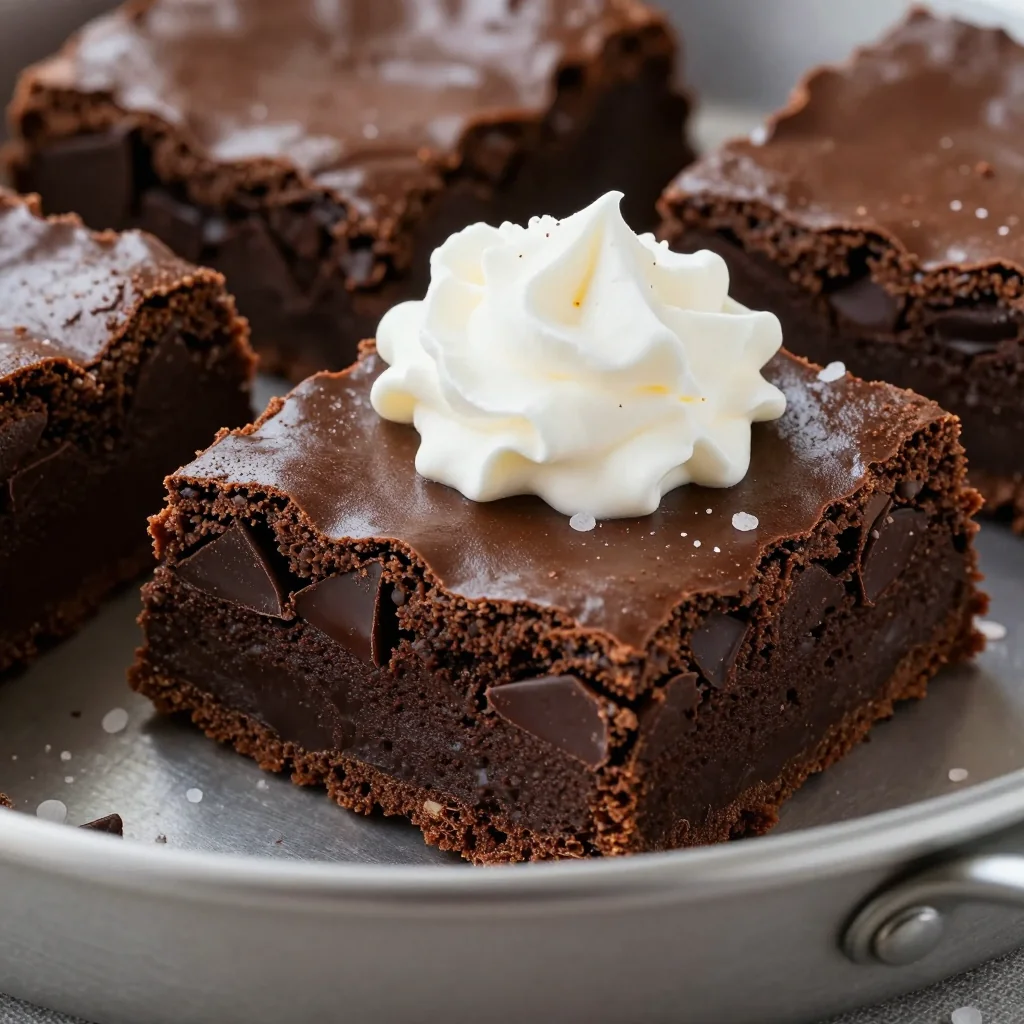
Pantry Black Bean Brownies For Healthy Dessert
Ingredients
Instructions
- Preheat & prep pan: Set oven to 350 °F. Line an 8-inch square pan with parchment, leaving overhang.
- Blend wet base: In a high-speed blender combine beans, maple syrup, oil, vanilla, and espresso. Blend 60 seconds until silky.
- Add dry: Sprinkle in oats, cocoa, baking powder, and salt. Pulse until just combined.
- Fold chips: Stir in ⅓ cup chocolate chips. Spread batter evenly in pan; sprinkle remaining chips on top.
- Bake: 18–22 min, until edges are matte and center jiggles slightly.
- Cool & chill: Cool 30 min, then refrigerate 1 hour before lifting out and slicing into 16 squares.
Recipe Notes
For ultra-fudgy texture, do not over-bake. Store chilled for truffle-like density or room temp for cakey softness.