Love this? Pin it for later! 📌
Why This Recipe Works
- One-Pot Wonder: Zero fancy equipment—just a heavy saucepan and wooden spoon.
- Fail-Safe Texture: A precise 238 °F softball stage plus a 5-minute rest guarantees that coveted silky snap.
- Pantry Staples: No corn syrup or marshmallow fluff—just sugar, cream, butter, and stellar chocolate.
- Gifting Engineered: Cuts into photo-ready squares and holds at room temperature for two weeks.
- Customizable Canvas: Swap in espresso, orange zest, or crushed candy canes without upsetting chemistry.
- Kid-Helper Friendly: Once the mixture cools, little hands can top with sprinkles or flaky salt.
- Scalable Batches: Recipe doubles—or triples—so you can knock out twenty teacher gifts in one evening.
Ingredients You'll Need
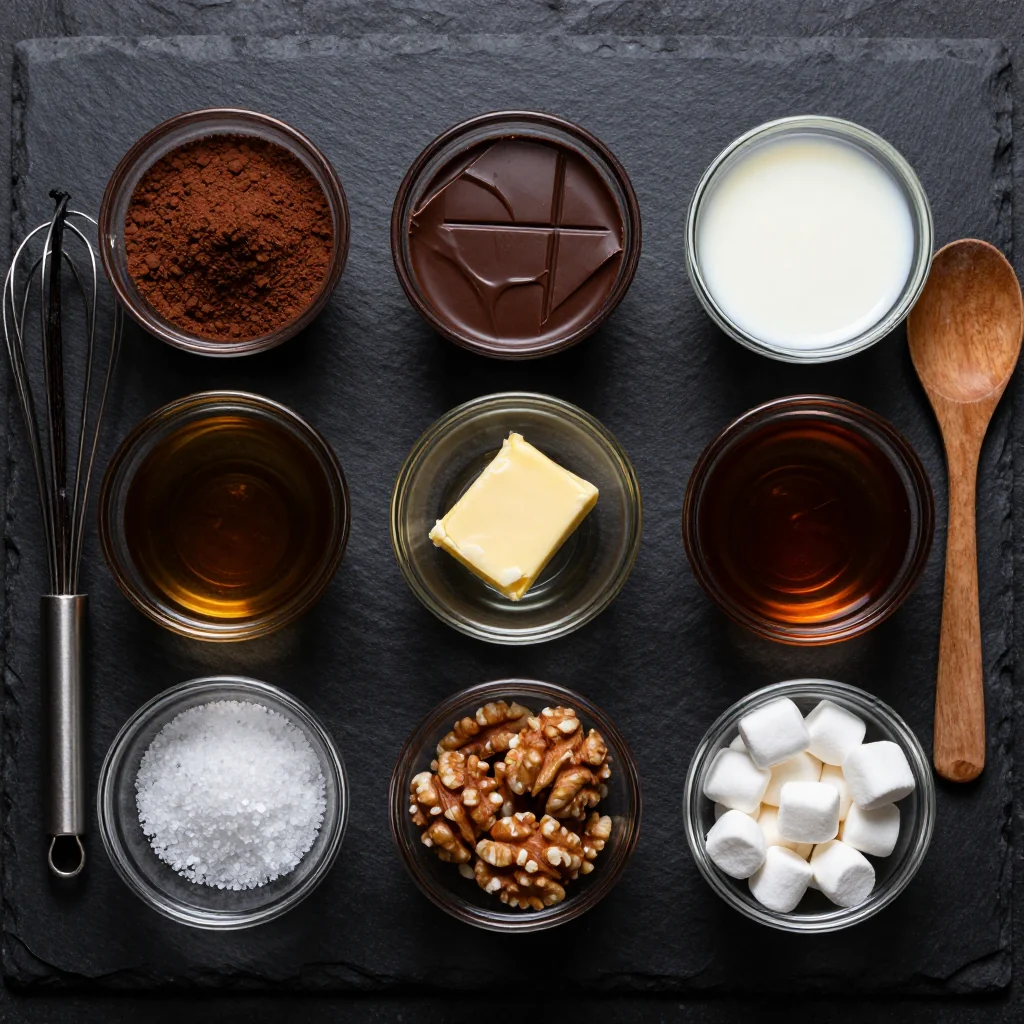
Every ingredient pulls its weight toward that truffle-like interior. Buy the best you can afford; this is a gift after all.
- Granulated Sugar: Plain white sugar gives the cleanest set. Organic cane sugar works but may tint the fudge the tiniest blond. Avoid brown sugar—it introduces moisture and you’ll end up with gooey toffee.
- Heavy Cream (36–40 % fat): The backbone of smoothness. Ultra-pasteurized is fine; just don’t swap in half-and-half or your fudge will weep.
- Unsalted Butter: European-style (82 % fat) adds extra silk. If all you have is salted, omit the sea salt later.
- Light Corn Syrup: A modest 2 Tbsp prevents crystallization without announcing itself. Organic glucose syrup or mild honey are 1:1 swaps, though honey will impart floral notes.
- Bittersweet Chocolate (70 %): Use bars, not chips—the latter contain stabilizers that resist melting. My go-to is a 50/50 blend of Valrhona Manjari for fruitiness and Guittella 72 % for depth.
- Unsweetened Cocoa Powder: A mere 2 Tbsp punches up flavor without extra fat. Dutch-processed keeps the chocolate profile rounded; natural cocoa is fine if you enjoy a sharper finish.
- Pure Vanilla Extract: Splurge on Madagascar bourbon. Imitation vanilla has a chemical edge that becomes obvious when the candy is cold.
- Sea Salt: Flaky Maldon delivers pops of contrast; fine sea salt dissolves evenly—pick your pleasure.
- Optional Finishes: Think glittery sanding sugar, crushed peppermint, toasted pistachios, or edible 24-karat gold leaf for full glamour.
How to Make Rich Chocolate Fudge for a Holiday Gift Box
Prep the Pan
Line an 8-inch square pan with parchment, leaving two generous “handles.” Lightly butter the exposed sides to prevent sugar crystals from clinging. If you want razor-sharp edges, nest a second 8-inch pan inside the first; the weight flattens the fudge as it sets.
Combine First Four Ingredients
In a heavy 3-quart saucepan, stir together sugar, cream, butter, and corn syrup with a wooden spoon. Cold-starting everything together minimizes the chance of scorching later. Wipe the inner walls with a damp pastry brush to dissolve any sugar granules.
Cook to Soft-Ball
Place over medium heat and bring to a gentle boil, stirring only until the butter melts. Clip on a candy thermometer and cook—without stirring—until the mixture reaches precisely 238 °F (114 °C). This takes 8–12 min; stay nearby because the temperature accelerates the hotter it gets.
The 5-Minute Rest
Remove from heat and let the bubbling subside for 5 min. This brief pause allows carry-over heat to finish cooking the center and prevents the chocolate from seizing when you add it.
Add Chocolate & Cocoa
Scatter chopped chocolate and cocoa powder over the surface. Resist stirring for 1 min so the chocolate melts gently, then stir with a silicone spatula until glossy and homogeneous. The mixture will thicken noticeably.
Flavor & Pour
Stir in vanilla and sea salt. Immediately scrape into the prepared pan; the fudge sets as it cools, so work quickly. Tap the pan on a towel-lined counter to expel air bubbles.
Optional Toppings
While the surface is still tacky, shower on sprinkles, crushed candy canes, or finely chopped pistachios. Gently press to adhere without deflating the fudge.
Cool & Cure
Let stand at room temperature for 3 hours or until completely firm. For the silkiest texture, refrigerate uncovered for 2 additional hours before slicing.
Slice Like a Pro
Lift the parchment handles onto a cutting board. Warm a large chef’s knife under hot water, wipe dry, and slice in a single downward motion for café-worthy edges. Rinse and re-warm between cuts.
Package for Gifting
Place each square in a paper candy cup, then into a rigid tin or box. Add a parchment divider between layers and include a “best by” tag. Ribbon, wax seal, evergreen sprig—done.
Expert Tips
Calibrate Your Thermometer
Boil water and confirm the gauge reads 212 °F. If it’s off, note the offset and adjust target temperatures accordingly.
Damp Pastry Brush = Crystal Insurance
Swipe the inner pan walls once more right after the mixture starts boiling. One rogue sugar crystal can seed a chain reaction.
Humidity Matters
If your kitchen is >60 % RH, add an extra tablespoon of corn syrup and cook 1 °F higher to compensate for atmospheric moisture.
Quick-Set Ice Bath
Need the pan ready in 45 min? Nestle it into a larger roasting pan filled with ice water, ensuring no water touches the fudge.
Dental Fudge Hack
Unflavored dental floss slides through even add-in–studded fudge without dragging crumbs.
Shipping Cold Zones
Vacuum-seal portions, tuck a disposable ice pack in the shipping box, and send Monday for Tuesday–Wednesday delivery.
Variations to Try
Mocha Midnight
Dissolve 2 tsp instant espresso powder in the cream before cooking. Top with chocolate-covered coffee beans.
Orange-Clove Spiced
Add the finely grated zest of 1 orange and ⅛ tsp ground cloves with the vanilla. Finish with candied orange peel.
Peppermint Crunch
Swap peppermint extract for vanilla and press crushed candy canes on top for a frosty look.
Salted Bourbon Pecan
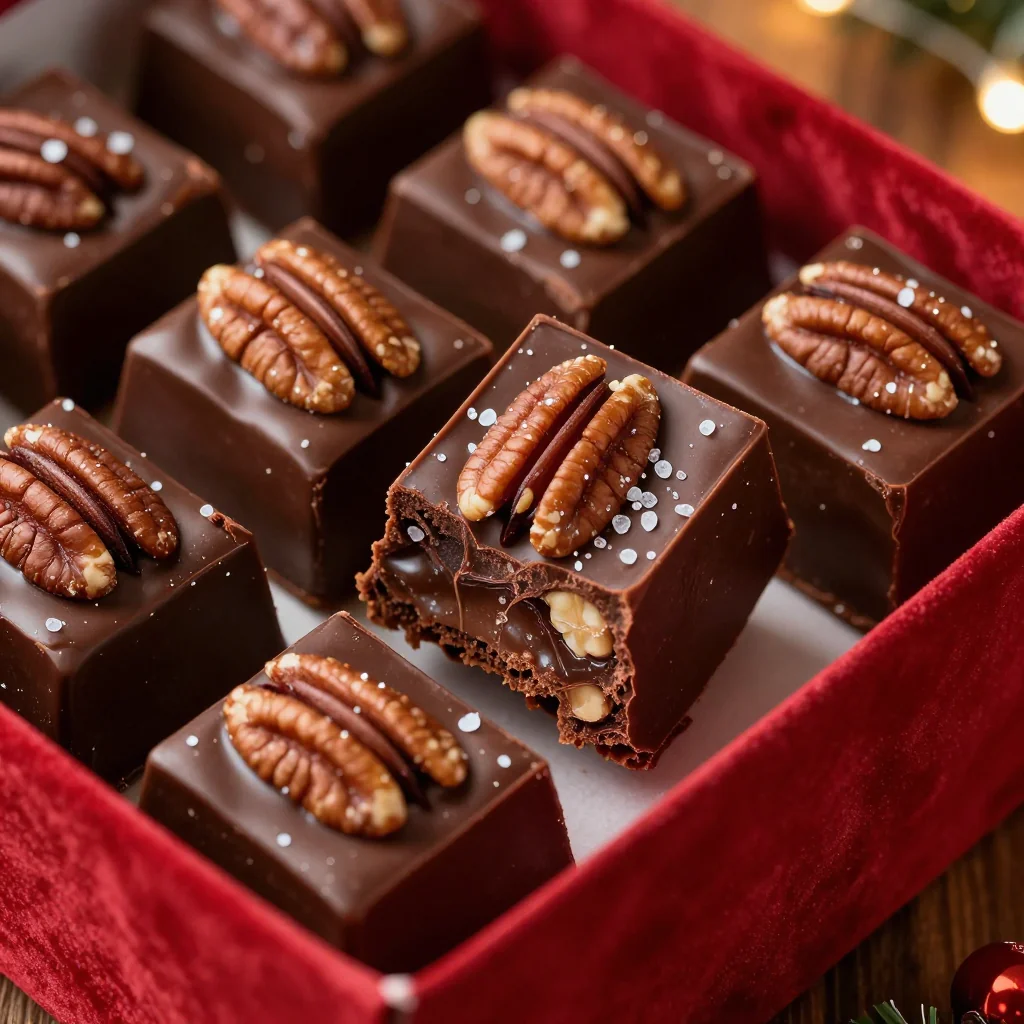
Stir 1 Tbsp bourbon and ½ cup toasted chopped pecans in at the end. Dust with smoked sea salt.
Storage Tips
Fudge is a high-sugar confection, which means it’s naturally shelf-stable—if you treat it right.
Room Temperature (Best Texture)
Store in an airtight tin, layers separated by parchment, up to 14 days. Keep away from direct sunlight and the oven—heat will soften the edges.
Refrigerator (Humid Climates)
Wrap the entire block in plastic wrap, then foil, for up to 1 month. Bring to room temp 2 hours before serving for the creamiest bite.
Freezer (Long-Term Hoarding)
Flash-freeze squares on a sheet pan, then vacuum-seal or zip into freezer bags with the air sucked out. Keeps 4 months. Thaw overnight in the wrapper to prevent condensation spots.
Frequently Asked Questions
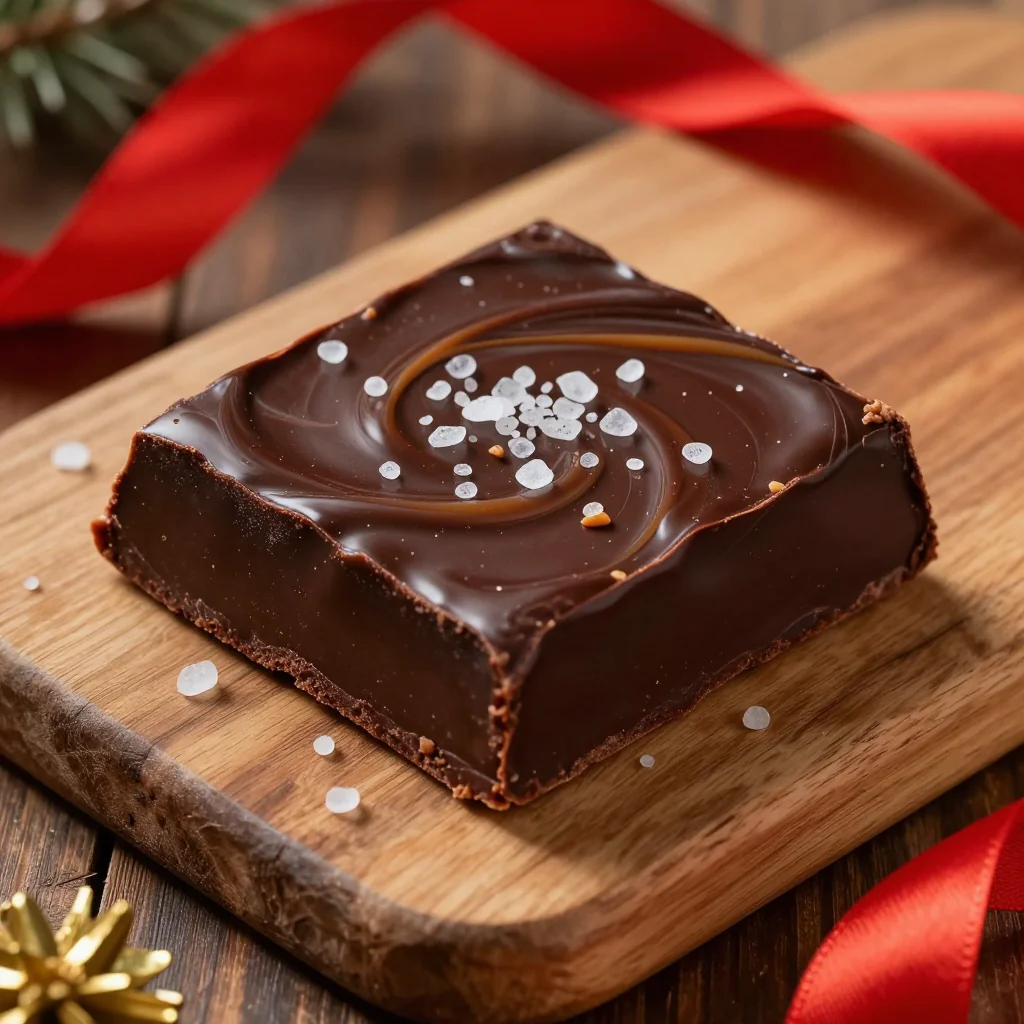
Rich Chocolate Fudge for a Holiday Gift Box
Ingredients
Instructions
- Prep Pan: Line an 8-inch square pan with parchment, leaving overhang.
- Cook Sugar: In a heavy saucepan combine sugar, cream, butter, and corn syrup. Bring to a boil over medium heat, wiping inner walls with a damp pastry brush.
- Reach Soft-Ball: Without stirring, cook to 238 °F (114 °C) on a candy thermometer.
- Rest: Remove from heat; let bubbling subside 5 min.
- Add Chocolate: Add chopped chocolate and cocoa. Wait 1 min, then stir until glossy.
- Flavor: Stir in vanilla and salt. Quickly scrape into prepared pan; tap to level.
- Set: Cool 3 h at room temp (or 1 h room + 2 h fridge). Lift out, slice, package.
Recipe Notes
For clean cuts, warm knife under hot water, wipe dry, and slice in a single motion. Store fudge up to 2 weeks at cool room temperature or 1 month refrigerated.