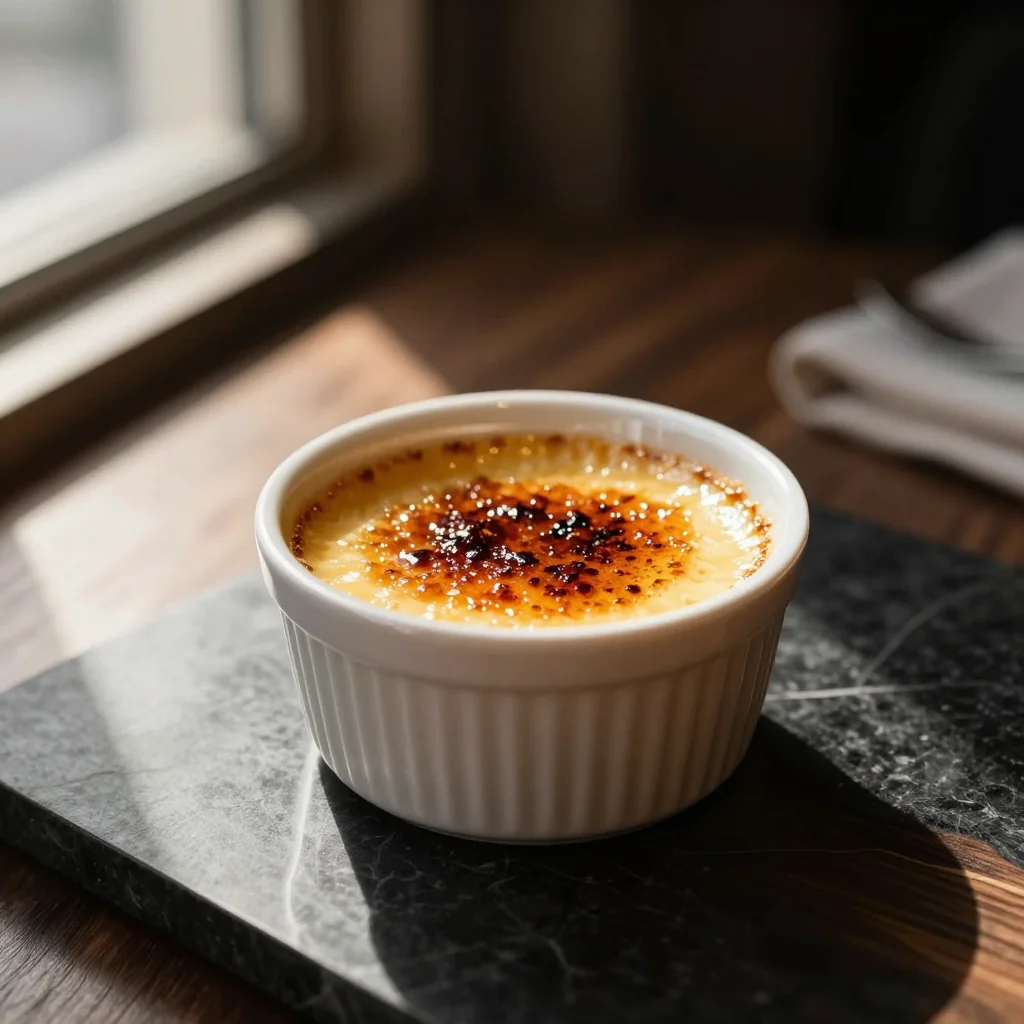
Vanilla Bean Crème Brûlée Restaurant Style
A silky, caramel‑kissed custard that brings the elegance of a five‑star restaurant to your own kitchen.
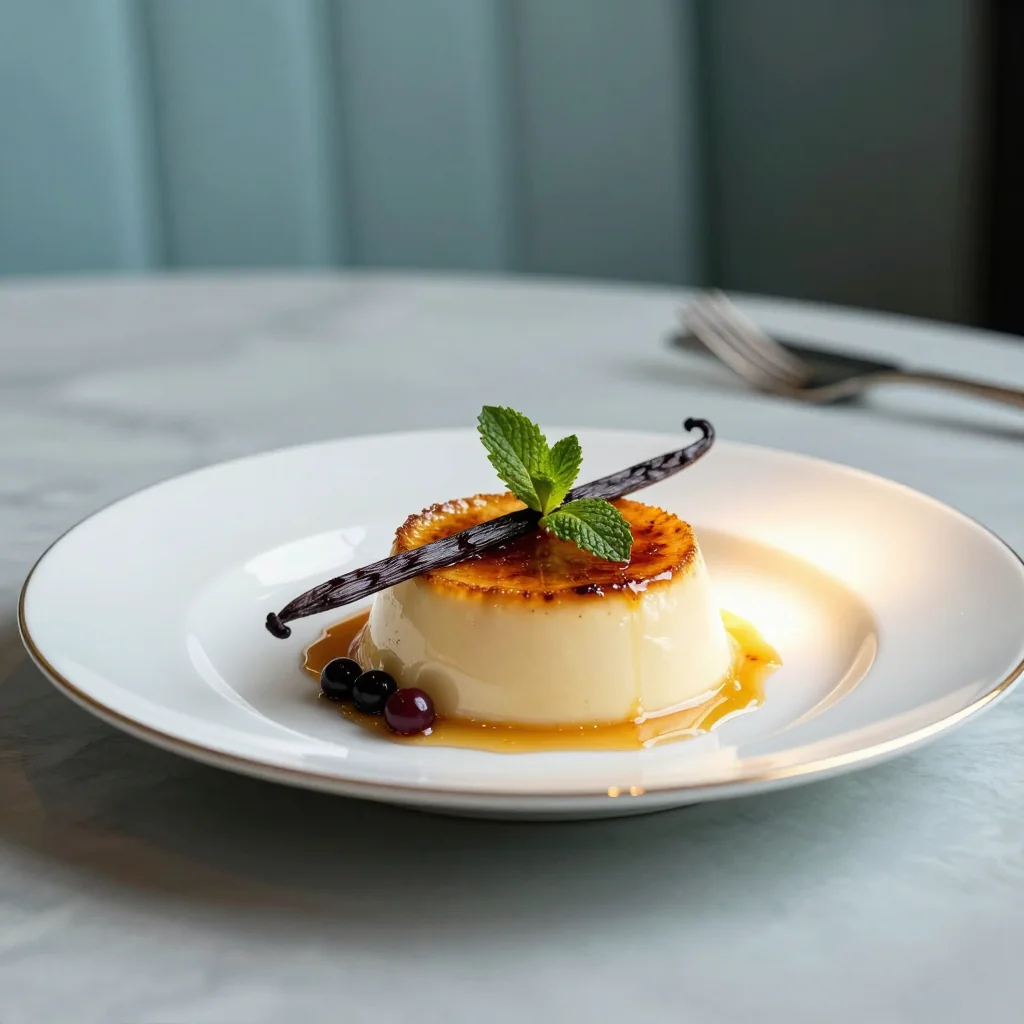
From the moment I first tasted a perfectly torched crème brûlée at a bustling Parisian bistro, I was hooked. The crack of caramelized sugar under a spoon, the velvety custard that seemed to melt on the tongue – it felt like pure magic. I spent months perfecting my own version, adjusting the balance of vanilla, the temperature of the water bath, and the timing of the torch to achieve that restaurant‑level sheen.
This classic French dessert, originally a humble countryside treat, has traveled the world and evolved into a symbol of refined indulgence. Today, we honor that heritage while giving it a contemporary twist that makes it accessible for home cooks who crave that luxurious experience.
In this guide, you’ll discover the science behind a flawless custard, the art of caramelizing sugar without bitterness, and the little secrets that turn an ordinary kitchen into a five‑star dining room. By the end, you’ll be confident enough to serve this masterpiece at dinner parties, celebrations, or a quiet night of self‑care.
So, roll up your sleeves, preheat your oven, and let’s embark on a sweet journey that will elevate your dessert repertoire forever.
🌟 Why This Recipe Will Captivate You
Crème brûlée is more than a dessert; it’s an experience that engages all the senses.
- ✨ Unmatched Creaminess: The blend of heavy cream and whole milk creates a custard that feels like silk, coating the palate with a buttery richness that’s impossible to forget.
- ✨ Perfect Caramel Crust: Using a kitchen torch gives you a crisp, glass‑like sugar crust that shatters with a gentle tap, releasing a burst of sweet aroma.
- ✨ Elegant Presentation: Served in classic ramekins, the contrast between the golden top and the pale custard makes for a visual masterpiece on any table.
- ✨ Versatile Flavor Base: While vanilla shines, the custard can be infused with citrus zest, liqueurs, or spices for endless variations.
- ✨ Simple Ingredient List: With just a handful of pantry staples, you can create a dessert that feels sophisticated without a long grocery run.
- ✨ Impressive Yet Approachable: Even novice cooks can master the technique with clear steps, making it a crowd‑pleaser for both intimate meals and grand celebrations.
🥗 Ingredients
📝 Complete Ingredient List
For the Custard Base:
For the Caramelized Sugar Topping:
Optional Garnish:
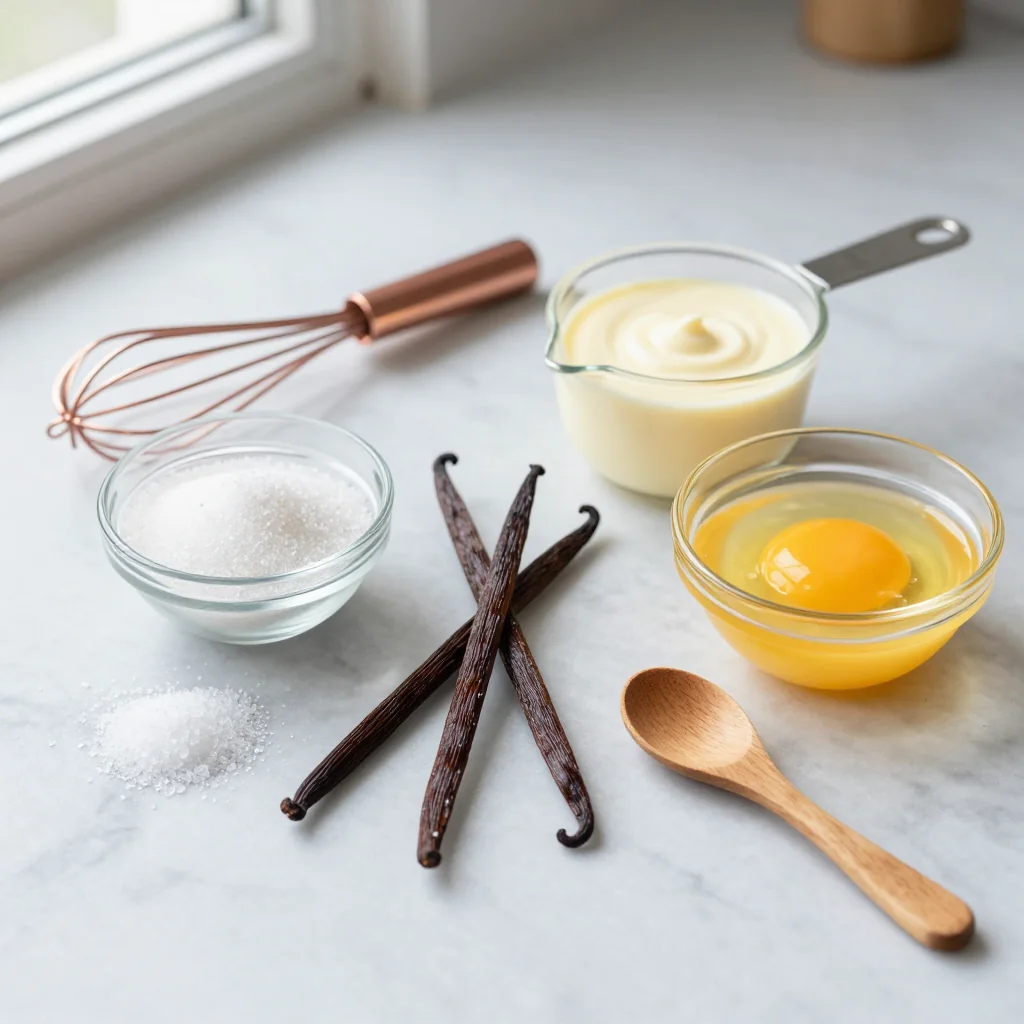
🔍 Focus on Key Ingredients
Heavy Cream
Heavy cream provides the luxurious mouthfeel that defines a true crème brûlée. Its high fat content prevents curdling during the gentle bake, ensuring the custard stays smooth and glossy. When selecting cream, aim for a label that lists at least 36% milkfat; lower‑fat alternatives will yield a thinner texture and a less indulgent finish.
Vanilla Bean
The vanilla bean is the soul of this dessert. Unlike extract, the whole pod offers a complex bouquet of floral, sweet, and slightly woody notes. Split the bean lengthwise, scrape out the tiny black seeds, and infuse them directly into the cream‑milk mixture for an aromatic depth that cannot be replicated with any synthetic flavor.
Granulated Sugar (Caramel)
The caramel topping is where technique shines. Fine, white granulated sugar melts evenly and forms a glass‑like crust when torched. Avoid brown sugar, which contains molasses and can produce a bitter, uneven caramel. A light, even dusting ensures a crisp crack that shatters effortlessly.
🔄 Quick Substitutions
| If you don’t have... | Use instead... |
|---|---|
| Vanilla bean | 2 tsp pure vanilla extract (reduce custard sugar by 10g) |
| Heavy cream | Half-and-half (but custard will be less rich) |
| Granulated sugar | Superfine caster sugar (same amount) |
👨🍳 Step‑by‑Step Instructions
Follow these carefully crafted steps to achieve a custard that’s silky, a caramel crust that’s perfectly crisp, and a presentation that dazzles.
📋 Phase 1: Preparation and Mise en Place
Gather your tools and pre‑heat the oven to ensure an even water bath.
Preheat the oven and set up a bain‑marie
Set your oven to 150°C (300°F). Place a large roasting pan on the middle rack and fill it with hot water until it reaches about halfway up the sides of the ramekins you’ll be using. This gentle, indirect heat is crucial for preventing the custard from curdling and for achieving that coveted smooth texture.
Split and scrape the vanilla bean
Using a sharp knife, split the vanilla bean lengthwise. Scrape the tiny black seeds into a small bowl, then set both the seeds and the pod aside. The seeds will be stirred into the cream, while the pod can be simmered to extract every last ounce of flavor.
Heat the cream, milk, and vanilla
In a medium saucepan, combine the heavy cream, whole milk, the scraped vanilla seeds, and the empty pod. Warm over medium heat, stirring occasionally, until the mixture just begins to steam (around 80°C / 176°F). Do not let it boil, as boiling can cause a film to form on the surface and affect the custard’s texture.
🔥 Phase 2: Custard Creation and Baking
Blend, temper, and bake the custard to achieve a flawless set.
Whisk egg yolks with sugar
In a large mixing bowl, whisk the egg yolks with the 100 g of granulated sugar until the mixture lightens in color and becomes slightly thickened, about 2‑3 minutes. This aeration helps prevent a dense texture and contributes to a smoother custard.
Temper the egg mixture
Remove the vanilla pod from the warm cream mixture. Slowly pour a ladleful of the hot cream into the yolk‑sugar blend, whisking constantly. This gradual temperature increase, known as tempering, protects the eggs from scrambling. Continue adding the cream in a thin stream while whisking until fully incorporated.
Strain and fill ramekins
Pass the custard through a fine‑mesh sieve into a clean pitcher to eliminate any cooked egg bits. Then, evenly distribute the liquid into four 6‑ounce ramekins, leaving about a half‑inch of space at the top.
Bake in the bain‑marie
Place the ramekins carefully into the preheated water bath. Bake for 35‑40 minutes, or until the custard is just set – a gentle jiggle in the center is fine. The water bath ensures even, gentle cooking, preventing the dreaded “cracked” custard.
✨ Phase 3: Finishing Touches and Service
Cool, caramelize, and present your crème brûlée with flair.
Cool the custard
Remove the ramekins from the water bath and let them cool on a wire rack for 15 minutes. Then, refrigerate for at least 2 hours, preferably overnight, to allow the custard to fully set and develop depth of flavor.
Caramelize the sugar topping
Just before serving, sprinkle an even layer of the remaining 50 g of granulated sugar over each custard surface. Using a kitchen torch, melt and caramelize the sugar until it turns a deep amber and forms a glossy, crackly crust. Rotate the ramekin constantly for an even caramel.
Serve and garnish
Allow the caramelized top to sit for a minute, then serve immediately. For a sophisticated touch, garnish with fresh berries and a drizzle of aged balsamic reduction. The bright acidity of the berries cuts through the richness, while the balsamic adds a subtle earthiness.
💡 Expert Tips and Tricks
🛒 Choosing the Right Ingredients
When shopping for heavy cream, look for a label that lists a minimum of 36% milkfat; this ensures a buttery mouthfeel. For vanilla beans, the best ones are plump, moist, and have a deep, fragrant aroma when you gently rub the pod. Avoid beans that are dry, shriveled, or have a faint scent—they’ll impart a muted flavor. If you’re using vanilla extract as a backup, opt for a pure, high‑quality extract without any artificial additives.
🔪 Preparation Techniques
Before whisking the egg yolks, bring them to room temperature; this reduces the risk of curdling when they meet the hot cream. When tempering, pour the hot liquid in a thin stream while whisking vigorously; the constant motion distributes heat evenly. Straining the custard through a fine mesh not only removes any stray egg bits but also aerates the mixture slightly, leading to a smoother final texture.
🌡️ Mastering the Cooking Process
The water bath (bain‑marie) is the secret to a uniform bake. Keep the water level steady throughout the cooking time; if it evaporates too much, add a splash of hot water. Use an instant‑read thermometer to check the custard’s internal temperature; it should read around 78‑80°C (172‑176°F) when done. Over‑baking can cause a grainy texture, while under‑baking leaves the center too soft.
🍽️ Presentation and Service
Ramekins should be placed on a sleek, matte black or dark wood serving board to highlight the golden caramel. When torching, keep the flame about 2‑3 cm away from the sugar and move it constantly to avoid burning. Serve the crème brûlée immediately after caramelizing for the best crack‑and‑cream contrast. Pair with a glass of chilled Sauternes or a light, floral dessert wine for an elevated experience.
🏆 Pro Tips
The difference between a good crème brûlée and a restaurant‑quality masterpiece lies in precision, temperature control, and attention to detail.
- 🎯 Use a kitchen torch with adjustable flame: An adjustable flame lets you control the intensity, preventing the sugar from turning black. A medium flame caramelizes the sugar evenly, creating a glass‑like crust without bitterness.
- 🎯 Chill the custard overnight: Overnight refrigeration allows the flavors to meld and the custard to firm up fully, resulting in a silkier mouthfeel and a more pronounced vanilla aroma.
- 🎯 Employ a silicone spatula for stirring: A silicone spatula gently folds the cream into the egg yolks without incorporating excess air, which could cause bubbles in the final custard.
- 🎯 Use a calibrated kitchen scale: Precise measurements, especially for sugar and cream, are essential for consistent texture. Even a 5‑gram variation can affect the custard’s set.
- 🎯 Finish with a micro‑caramel layer: For an ultra‑refined finish, melt a thin layer of sugar in a small pan, drizzle it over the custard, and immediately torch. This creates a multi‑layered caramel that shatters delightfully.
- 🎯 Serve on chilled plates: A cold plate helps maintain the custard’s temperature longer, ensuring the caramel stays crisp while the interior remains cool and silky.
"The perfect crème brûlée is a balance of science and art; master the temperature, and the flavors will sing." — Chef Pierre Gagnaire
🔄 Variations and Adaptations
While the classic version shines on its own, this versatile recipe lends itself to creative twists that suit a range of dietary preferences and flavor cravings.
🥬 Vegetarian/Vegan Version
To make a vegan crème brûlée, substitute the dairy with full‑fat coconut milk and a plant‑based cream such as cashew cream. Use silken tofu blended with the coconut milk for added protein and structure. Replace the egg yolks with a mixture of 1 tbsp cornstarch and 2 tbsp aquafaba per yolk, whisked until frothy. The result is a creamy, plant‑based custard that still delivers a luxurious mouthfeel.
- Replace heavy cream with 480 ml coconut cream.
- Replace whole milk with 240 ml almond milk.
- Replace egg yolks with 5 tbsp aquafaba + 1 tbsp cornstarch.
🌶️ Flavor Variations
Crème brûlée’s neutral canvas welcomes a world of flavors. Below are three exciting directions you can explore:
Spiced Orange Version:
Add 1 tbsp freshly grated orange zest and a pinch of ground cinnamon to the cream mixture. Finish with a light dusting of orange‑infused sugar before torching for a citrus‑spice harmony.
Mediterranean Lavender Version:
Steep 2 tsp culinary lavender buds with the vanilla bean in the cream. Strain before combining with the yolks. Garnish with a sprig of fresh lavender and a drizzle of honey.
Asian Matcha Version:
Whisk 1 tsp high‑grade matcha powder into the custard after tempering. The earthy green hue pairs beautifully with a caramel topping and a sprinkle of toasted sesame seeds.
⚠️ Dietary Adaptations
Gluten‑Free:
This recipe is naturally gluten‑free. Ensure any optional garnish, such as cookies or biscuits, are also gluten‑free if you choose to serve them alongside.
Lactose‑Free:
Swap heavy cream and whole milk with lactose‑free alternatives like coconut cream and oat milk. The flavor will shift slightly toward tropical notes, which can be complemented with a hint of lime zest.
Low‑Calorie:
Reduce the heavy cream to 300 ml and replace the remaining 180 ml with skim milk. Use a sugar substitute like erythritol for the caramel topping, applying it in a thin layer to keep the crunch while cutting calories.
👶 Family/Kids Version
Kids often love a softer texture and milder sweetness. Reduce the egg yolks to 3, increase the milk portion, and use a lighter caramel topping made with a mix of brown sugar and a dash of vanilla. Serve in colorful silicone molds instead of traditional ramekins to make the presentation fun.
📦 Storage and Reheating
🧊 Conservation
Refrigerator:
- Duration: Up to 3 days
- Recommended container: Airtight glass jars or the original ramekins covered with plastic wrap
- Tip: Place a piece of parchment paper over the custard to prevent a skin from forming.
Freezer:
- Duration: Up to 1 month
- Method: Freeze the custard (without caramel) in sealed containers; caramelize after thawing.
- Thawing: Transfer to the refrigerator overnight before torched finishing.
💡 For best texture, avoid refreezing once the custard has been thawed; the delicate protein network can break down.
♨️ Reheating
🔥 Oven (Recommended):
- Preheat to 120°C (250°F).
- Cover each ramekin loosely with foil to protect the caramel.
- Reheat for 10‑12 minutes, or until the custard is just warmed through.
- Remove foil, sprinkle fresh sugar, and torch for a fresh crust.
⚡ Microwave (Quick):
- Cover the ramekin with a microwave‑safe lid.
- Heat on medium power for 30‑45 seconds.
- Check temperature; add more time in 10‑second bursts if needed.
- Re‑caramelize using a torch or broiler.
🍳 Stovetop (Rarely Needed):
If you lack an oven, place the ramekin in a saucepan of simmering water for 5‑7 minutes, then torch the sugar topping. Avoid direct heat to prevent curdling.
🍷 Perfect Pairings
🥗 Accompaniments
- Fresh Berries: The tartness of raspberries or strawberries cuts through the richness and adds a burst of color.
- Shortbread Cookies: A buttery, crumbly cookie offers a textural contrast to the smooth custard.
- Light Citrus Salad: A small salad of orange segments, mint, and a drizzle of honey brightens the palate.
🍷 Wine & Beverage Pairings
- Sauternes (French Sweet Wine): Its honeyed notes echo the caramel while its acidity balances the cream.
- Late Harvest Riesling: Offers bright acidity and apricot aromas that complement vanilla.
- Non‑Alcoholic Option: A glass of chilled vanilla‑infused sparkling water with a twist of lemon.
🍰 To Complete the Meal
Start with a light, herb‑infused salad or a chilled gazpacho to awaken the palate. Follow the crème brûlée with a palate‑cleansing sorbet—lemon or passion fruit works beautifully—before serving a delicate fruit tart as a final sweet note.
❓ Frequently Asked Questions
Q: Can I use a different type of sugar for the caramel topping?
A: Yes, superfine caster sugar works well because it melts quickly and distributes evenly. Brown sugar can be used for a deeper, molasses‑rich flavor, but it may produce a slightly sticky crust rather than a crisp glass. If you prefer a darker caramel, you can add a tiny pinch of sea salt to the sugar before torching.
Q: How do I know when the custard is perfectly set?
A: Gently jiggle the ramekin; the center should wobble slightly like gelatin. The custard will firm up further as it cools. If you insert a thin knife or thermometer, the interior should read around 78‑80°C (172‑176°F). Over‑baking leads to a grainy texture, while under‑baking leaves a runny center.
Q: What if I don’t have a kitchen torch?
A: A broiler can substitute, but you must watch closely to prevent burning. Place the ramekins on a baking sheet, sprinkle sugar, and broil 1‑2 inches from the heat source for 30‑60 seconds, rotating as needed. The result won’t be as crisp as a torch, but it will still provide a satisfying caramel crust.
Q: Can I prepare the custard ahead of time?
A: Absolutely. Prepare the custard, bake, and refrigerate the un‑caramelized ramekins for up to 3 days. Caramelize the sugar just before serving for the best texture and flavor.
Q: How can I make the dessert lower in sugar?
A: Reduce the sugar in the custard to 70 g and use a sugar substitute like erythritol for the topping. Keep in mind that alternative sweeteners may not caramelize as well, so a thin layer of regular sugar on top can still be torched for a crisp finish.
Q: Is it possible to make a larger batch for a party?
A: Yes. Multiply all ingredients proportionally and use a larger baking dish for the water bath. Ensure the ramekins are spaced evenly to allow water circulation. The portion adjuster on the recipe card will help you scale quantities accurately.
🎉 To Your Oven!
This Vanilla Bean Crème Brûlée brings the elegance of a Michelin‑starred dessert into your home kitchen. By mastering the gentle water bath, precise tempering, and the art of torching sugar, you’ll create a custard that’s velvety, a caramel crust that sings, and a presentation that impresses every guest. Remember, the key lies in patience, temperature control, and a love for the little details that elevate a simple dish into a memorable experience.
Now it’s your turn—experiment with flavors, share your beautiful creations, and let the caramel crack under your spoon. Your kitchen is the stage, and this dessert is the star. Bon appétit!
Have you tried this recipe?
Leave a comment and a rating below! Share your photos on Instagram with #VanillaBruleeMagic to be featured.
Vanilla Bean Crème Brûlée Restaurant Style
A silky custard crowned with a caramelized sugar crust, perfect for elegant occasions.
📝 Ingredients
Custard Base
Caramel Topping
Optional Garnish
👨🍳 Instructions
- 1 Preheat oven to 150°C (300°F) and set up a water bath.
- 2 Split and scrape the vanilla bean; set seeds and pod aside.
- 3 Heat cream, milk, vanilla seeds, and pod until just steaming; remove pod.
- 4 Whisk egg yolks with 100 g sugar until pale and thick.
- 5 Temper the yolk mixture with hot cream, whisking constantly.
- 6 Strain custard and pour into four ramekins.
- 7 Bake in water bath for 35‑40 min until gently set.
- 8 Cool, then refrigerate at least 2 hours (or overnight).
- 9 Sprinkle 50 g sugar on each custard, torch until caramelized.
- 10 Serve immediately, optionally garnished with berries and balsamic drizzle.
🥗 Nutritional Information (per serving)
*Values are estimates based on standard ingredients.
📚 You Might Also Like
Classic French Tarte Tatin
Creamy Potato Gratin
Vegetable Ratatouille
💬 Comments and Reviews
Leave a Comment