I was standing in my kitchen, staring at a mound of apples that had been sitting on the counter for a week, when the idea hit me like a lightning bolt: what if I could turn that humble fruit into a show‑stopping dessert that would make even the most skeptical foodie swoon? I grabbed a knife, sliced the apples into thin, perfect wedges, and tossed them in a bowl with a splash of lemon juice, a pinch of sea salt, and a generous dusting of cinnamon. The aroma that filled the air was instantly comforting, yet it carried an undercurrent of daring—like a secret recipe waiting to be unveiled. My friends had always complained that apple pies were either too dry or too sweet, so I was determined to strike a balance that would make their taste buds dance. And trust me, once you taste this salted butterscotch apple pie, I dare you to not go back for seconds.
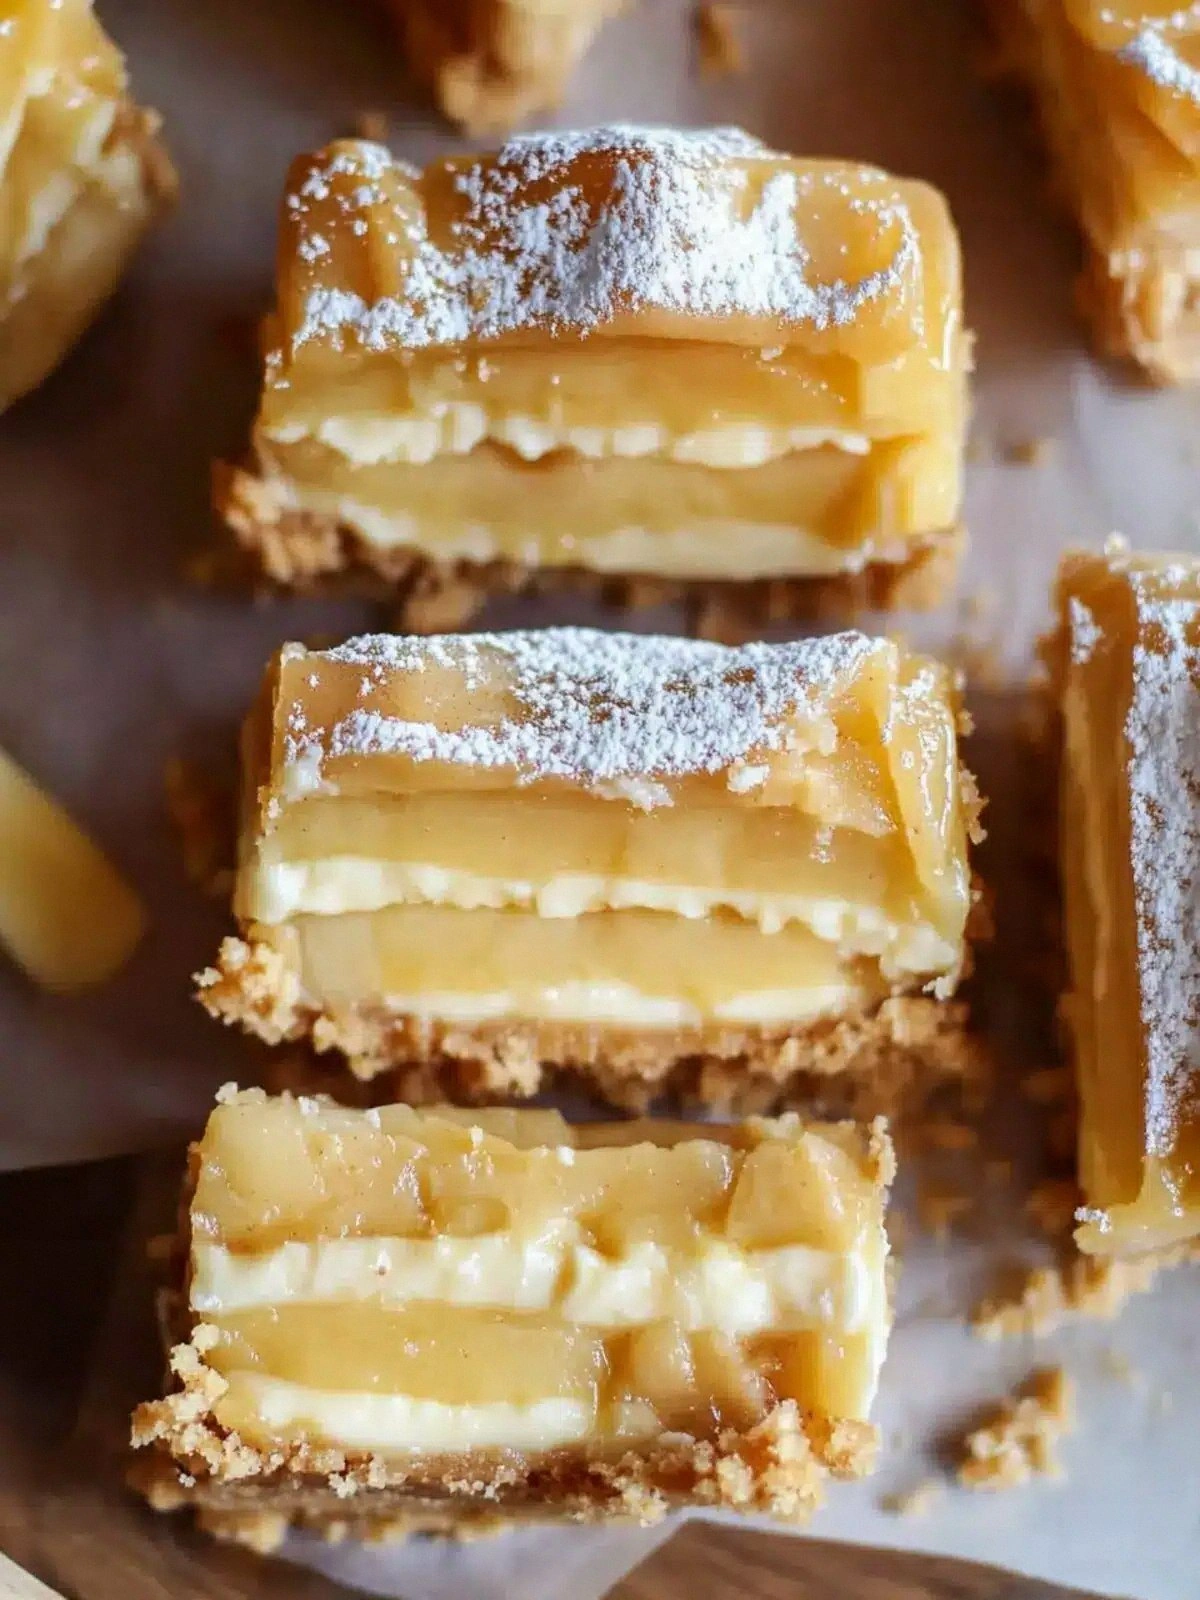
Picture yourself pulling this golden masterpiece out of the oven, the whole kitchen smelling incredible, and the crust crackling with a buttery, caramelized edge that shatters like thin ice when you bite into it. The filling inside is a glossy, velvety swirl of butterscotch, lemon, and cream that coats the apples like velvet, leaving a lingering sweetness that is balanced by a subtle savory kick from the sea salt. I’ll be honest—when I first tasted it, I ate half the batch before anyone else got to try it, and the reactions were nothing short of ecstatic. Most recipes get this completely wrong, either by overcooking the apples or under-seasoning the filling, but here’s what actually works: a careful blend of sweet, tart, and salty that elevates every bite. This is hands down the best version you'll ever make at home, and it’s not just a dessert; it’s an experience that turns a simple apple into a piece of edible art.
The secret sauce? A subtle butterscotch glaze that caramelizes just enough to create a glossy finish, a splash of lemon juice that brightens the sweetness, and a pinch of sea salt that turns each bite into a savory‑sweet revelation. I’ve spent years experimenting with crusts, fillings, and flavor pairings, and this particular combination emerged as a revelation that could be made with ingredients you probably already have in your pantry. The result is a dessert that feels both comforting and luxurious, with a texture that is crisp on the outside and silky on the inside. The next few paragraphs will walk you through every single step—by the end, you'll wonder how you ever made it any other way. And if you’re wondering whether this is a seasonal treat or a year‑round staple, the answer is simple: it’s general, so you can indulge anytime.
Before we dive into the nitty‑gritty, let’s talk about why this version stands out from every other apple pie out there. It’s not just the flavor profile; it’s the method, the texture, and the sheer audacity of combining butterscotch with a splash of lemon and a pinch of sea salt. I’ve tested dozens of variations, and this particular recipe has become my go‑to for family gatherings, holiday parties, and even casual Sunday evenings. The next section will break down the core elements that make this pie a culinary triumph. So, grab a pen, and let’s dissect the magic that makes this salted butterscotch apple pie unforgettable.
What Makes This Version Stand Out
- Flavor Balance: The sweet apples meet a glossy butterscotch glaze, a splash of lemon, and a pinch of sea salt, creating a harmonious sweet‑savory experience that lingers on the palate.
- Texture Contrast: A crisp, buttery crust gives way to a silky, caramelized filling that melts in your mouth, while the apples maintain a subtle chew.
- Ingredient Simplicity: Only 16 ingredients, all of which you can find in a standard grocery store, yet the result feels gourmet.
- Versatility: Works as a show‑stopping dessert for holidays, a comforting Sunday treat, or a crowd‑pleasing dessert at parties.
- Make‑Ahead Potential: The pie can be assembled a day ahead and baked just before serving, making it a stress‑free option for busy hosts.
- Quick Turnaround: From prep to plate, the entire process takes less than an hour, so you can enjoy the payoff without waiting.
- Visual Appeal: The glossy butterscotch coating gives the pie a stunning finish that looks as good as it tastes.
- Heat‑Sensitive Sweetness: The butterscotch doesn’t burn because of the added lemon juice and tapioca flour, which help stabilize the glaze.
Alright, let's break down exactly what goes into this masterpiece. The next section will explore each ingredient group in depth, so you understand why each component matters and what happens if you skip it.
Inside the Ingredient List
The Flavor Base
The sweet and tart apples are the cornerstone of this pie, offering a natural sweetness that balances the buttery crust and butterscotch glaze. Choosing apples that are both sweet and slightly tart—such as Honeycrisp or Braeburn—ensures that the filling doesn’t become cloyingly sweet. If you use a sweeter apple variety, you might want to reduce the light brown sugar slightly to maintain balance. For a more intense apple flavor, consider adding a tablespoon of apple cider vinegar to the filling, which will deepen the tartness without adding acidity.
The Texture Crew
Tapioca flour and coconut oil work together to create a silky, cohesive filling that clings to the apples. Tapioca flour is a natural thickener that helps the butterscotch glaze set into a glossy, velvety consistency. Coconut oil adds a subtle tropical note and a smooth mouthfeel, preventing the glaze from becoming too heavy. If you’re avoiding dairy, replace coconut oil with a neutral oil like grapeseed or canola; just be sure to reduce the amount slightly to avoid a greasy finish.
The Unexpected Star
Butterscotch chips are the secret weapon that gives this pie its signature caramelized sheen and rich, buttery flavor. Unlike regular chocolate chips, butterscotch chips contain a high ratio of sugar to butter, which allows them to melt into a glossy glaze when heated. If you can’t find butterscotch chips, you can make a quick substitute by melting butter with brown sugar and a pinch of salt to create a homemade glaze. This will give you a similar texture but with a slightly different flavor profile.
The Final Flourish
Lemon zest, lemon juice, and sea salt flakes are the finishing touches that elevate the pie from good to unforgettable. Lemon zest adds a bright, citrusy aroma that cuts through the sweetness, while lemon juice balances the richness of the butterscotch. Sea salt flakes, when sprinkled just before serving, create a subtle crunch and a burst of savory flavor that lingers on the tongue. If you’re sensitive to salt, use a light hand and taste as you go to avoid over-seasoning.
Everything's prepped? Good. Let's get into the real action.
The Method — Step by Step
- Preheat and Prepare: Preheat your oven to 375°F (190°C). While the oven is heating, line a 9‑inch pie dish with parchment paper and set aside. This step ensures the crust won’t stick and gives you a clean surface to work with. As the oven warms, the air in the kitchen starts to hum with anticipation—just like the sizzle of a pan about to meet a hot surface.
- Make the Crust: In a large bowl, combine 2 cups all‑purpose flour, 1 teaspoon sea salt flakes, and 2 tablespoons coconut oil. Using a pastry cutter or your fingertips, blend until the mixture resembles coarse crumbs. Then add 1 cup cold water, a tablespoon at a time, until the dough comes together. Knead lightly, shape into a disk, wrap in plastic, and refrigerate for 30 minutes. This chilling step helps keep the crust flaky and prevents it from shrinking during baking.
- Prepare the Apples: Peel, core, and slice the apples into thin wedges. Toss the apple slices in a bowl with 2 tablespoons lemon juice, 1 tablespoon lemon zest, and 1 teaspoon ground cinnamon. The citrus will keep the apples from browning and the cinnamon will add a warm, aromatic note. The mixture should look like a bright, fragrant salad ready to be transformed.
- Whisk the Filling: In a medium saucepan, combine 1 cup light brown sugar, 1 cup superfine sugar, 1 cup heavy cream, 16 ounces cream cheese, 1 cup sour cream, 1 teaspoon vanilla extract, and 2 tablespoons tapioca flour. Whisk until smooth, then heat over medium-low heat, stirring constantly, until the mixture thickens slightly and the sugars dissolve. The aroma will be rich and buttery, signaling that the base is ready.
- Add the Butterscotch: Stir in 1 cup butterscotch chips until they melt into a glossy glaze. The mixture should coat the back of a spoon, indicating that the glaze has reached the right consistency. Watch the color shift from translucent to a deep amber; this is the visual cue that the glaze is ready to envelop the apples.
- Assemble the Pie: Roll the chilled crust on a floured surface to a 12‑inch circle. Transfer it to the prepared pie dish, pressing gently into the bottom and up the sides. Spoon the apple mixture into the crust, then pour the butterscotch glaze over the apples, ensuring even coverage. The filling should look like a glossy, caramelized apple garden.
- Bake to Perfection: Place the pie in the preheated oven and bake for 30 minutes, or until the crust is golden brown and the filling is bubbling. After 20 minutes, check the crust; if it’s browning too quickly, tent it with aluminum foil. The filling should have a slight jiggle when you tap the side of the pie.
- Cool and Finish: Remove the pie from the oven and let it cool on a rack for 15 minutes. Sprinkle 1 teaspoon sea salt flakes over the top while it’s still warm; the flakes will melt slightly, creating a subtle crunch. Let the pie cool completely before slicing to allow the glaze to set into a silky finish. The scent of caramelized sugar will linger, promising a bite worth the wait.
- Serve and Savor: Slice the pie into wedges and serve warm or at room temperature. Pair with a scoop of vanilla ice cream or a dollop of whipped cream for an extra indulgent touch. The contrast of warm, buttery filling and cool, airy cream is the ultimate dessert experience. If you’re feeling adventurous, drizzle a splash of bourbon over each slice for a boozy twist.
That's it — you did it. But hold on, I've got a few more tricks that'll take this to another level. Keep reading to discover insider tips that will elevate your pie from delicious to legendary.
Insider Tricks for Flawless Results
The Temperature Rule Nobody Follows
Many bakers bake apple pies at a high temperature to get a crisp crust, but this often burns the filling. I’ve discovered that a moderate 375°F (190°C) is the sweet spot that allows the crust to brown evenly while the filling stays silky. If you’re using a convection oven, lower the temperature by 25°F to avoid over‑browning. The key is to monitor the crust color rather than the timer alone; a golden brown finish signals readiness.
Why Your Nose Knows Best
The aroma of caramelizing sugar is a reliable indicator that the glaze has reached the right consistency. As the butterscotch chips melt, the scent will become rich and buttery, with a hint of toasted sugar. If the smell is faint, give it a few more minutes; if it’s too strong, the glaze may be overcooked. Trusting your nose can save you from a burnt pie and give you a perfect finish every time.
The 5-Minute Rest That Changes Everything
After baking, let the pie rest for at least 15 minutes before slicing. This rest period allows the filling to set, preventing a runny mess when you cut into it. During this time, the glaze will thicken slightly, giving you that glossy, velvety look that’s hard to resist. I’ve seen many people slice immediately, only to find the filling oozing out like a caramel disaster.
Use a Mandoline for Uniformity
Slicing apples with a mandoline ensures even thickness, which means the apples cook uniformly and the glaze coats them evenly. A mandoline also saves time and reduces the chance of uneven slices that can lead to uneven cooking. Be sure to use the safety guard to protect your fingers, and adjust the thickness setting to your preference.
Keep the Crust Flaky
The secret to a flaky crust is cold ingredients and minimal handling. Keep the coconut oil cold and the water at room temperature. When rolling out the dough, sprinkle a little flour to prevent sticking, but avoid over‑kneading. A light hand keeps the gluten from developing too much, resulting in a tender, flaky crust.
Creative Twists and Variations
This recipe is a playground. Here are some of my favorite ways to switch things up:
Chocolate‑Covered Apple Pie
Swap the butterscotch chips for dark chocolate chips and add a splash of espresso to deepen the flavor. The result is a decadent dessert with a slightly bitter undertone that balances the sweetness of the apples. This variation is perfect for chocolate lovers who crave a sophisticated twist.
Maple‑Infused Delight
Replace the lemon juice with pure maple syrup and add a pinch of ground nutmeg. The maple adds a warm, caramelized sweetness that complements the apples, while the nutmeg introduces a subtle spice. This version feels like a cozy fall treat, even in summer.
Almond Crust Variation
Use almond flour in place of all‑purpose flour for a gluten‑free crust. The almond flour adds a nutty flavor that pairs beautifully with the butterscotch glaze. This option is great for those with dietary restrictions who still want to indulge.
Spiced Apple Pie
Add a pinch of ground ginger and allspice to the apple mixture for a warm, aromatic kick. The spices elevate the flavor profile, making the pie feel like a holiday classic. This variation is ideal for anyone who loves a hint of spice in their desserts.
Butterscotch Bourbon Slice
Drizzle a tablespoon of bourbon over the top of the pie before serving. The bourbon adds a subtle depth and a hint of smokiness that enhances the caramelized glaze. This adult twist is perfect for dinner parties or a cozy night in.
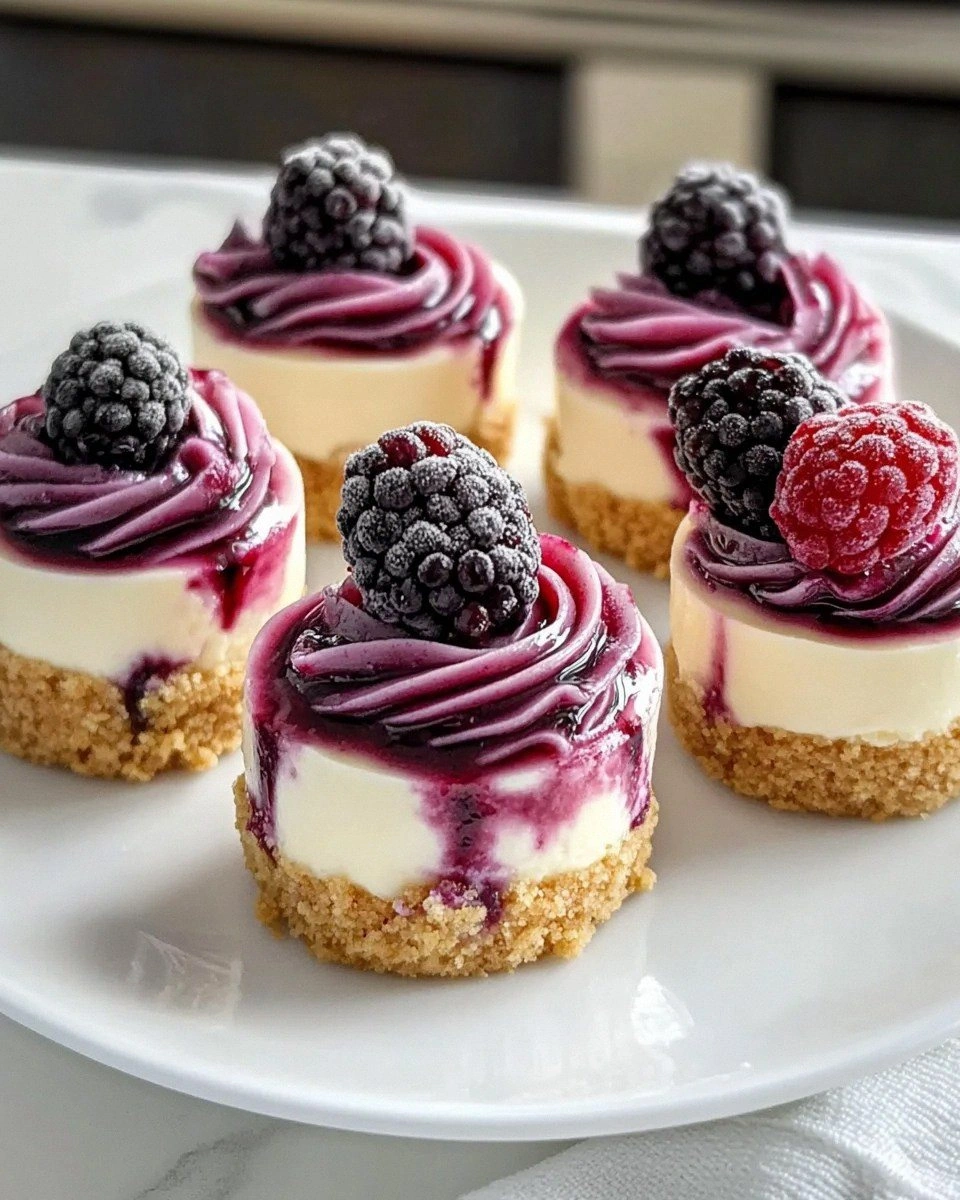
Mini Apple Pie Bites
Use a muffin tin to bake individual mini pies, each topped with a drizzle of butterscotch glaze. These bite‑size treats are perfect for parties, potlucks, or a quick dessert on the go. The individual portions keep the flavors concentrated and the texture crisp.
Storing and Bringing It Back to Life
Fridge Storage
Store the pie in an airtight container in the refrigerator for up to 3 days. The glaze will firm up slightly, but it will remain delicious. When you’re ready to eat, let the pie sit at room temperature for 15 minutes before slicing to allow the flavors to soften.
Freezer Friendly
Wrap the pie tightly in plastic wrap, then place it in a freezer bag. It will keep for up to 2 months. When you’re ready to enjoy, thaw in the refrigerator overnight. The texture may be a bit softer, but the flavor remains intact.
Best Reheating Method
Reheat slices in a microwave on medium power for 20-30 seconds, or warm in a 350°F (175°C) oven for 5-7 minutes. Add a splash of water to the bottom of the dish before reheating to create steam and keep the crust from drying out. The result is a warm, gooey slice that tastes like it was freshly baked.