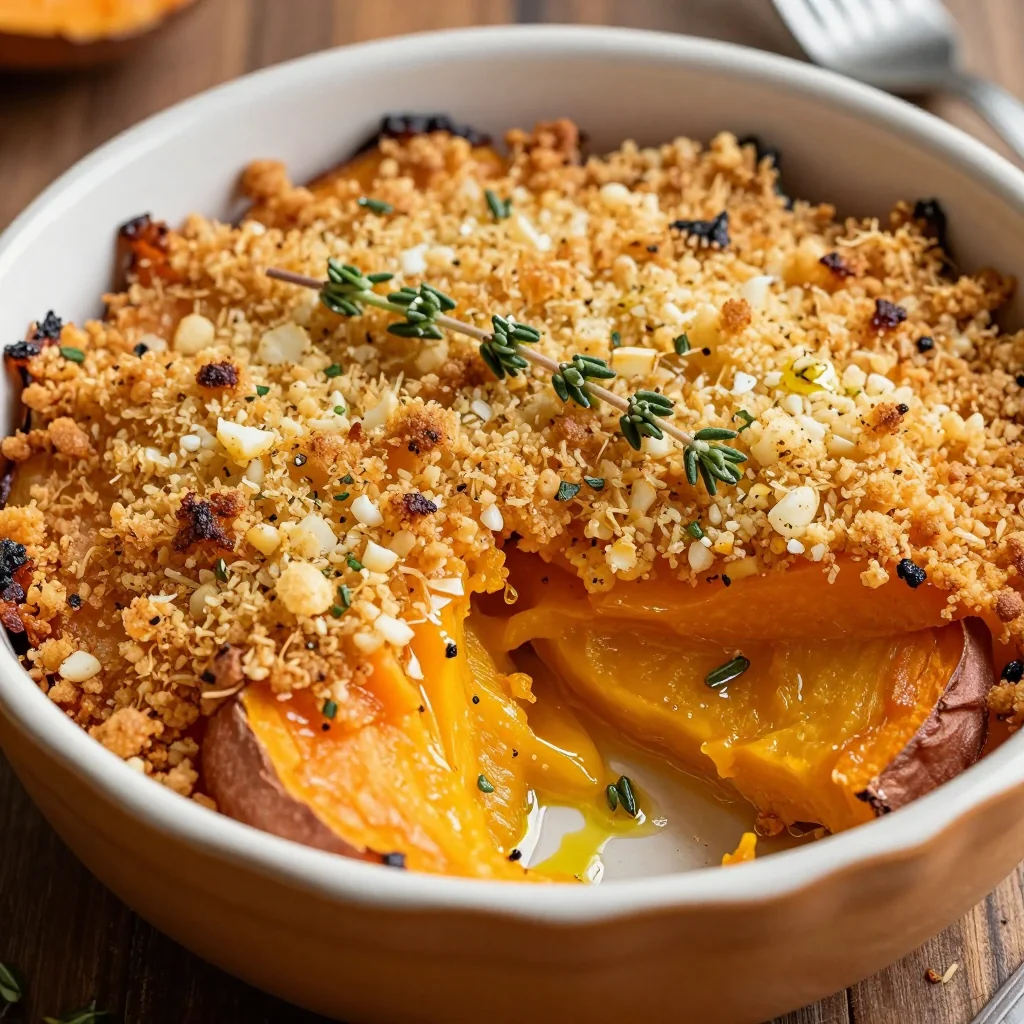
I still remember the night I nearly ruined my entire Thanksgiving spread because the pie crust collapsed into a soggy mess. I had been trying to impress my friends with a classic pecan pie, but the batter kept sliding off the pan, and the filling was too runny. That disaster taught me the hard way that the secret to a perfect pecan pie lies in the crust and the balance of sweet to nutty. Fast forward a few years, and I’ve refined a version that turns every bite into a buttery, crunchy, caramel‑laden experience that I can’t stop sharing.
Picture this: a golden, crisp crust that crackles as you break a slice, revealing a glossy, caramelized filling that oozes just enough to coat your tongue like a silky velvet. The scent of toasted pecans wafts through the kitchen, mingling with the warm aroma of butter and brown sugar. You hear the gentle hiss of the filling as it bubbles in the oven, and the sound of the timer ticking down to perfection. The first bite is a satisfying crunch, followed by a burst of sweet, nutty flavor that lingers. You’ll find yourself reaching for another slice even before you’ve finished the first one.
What makes this version stand out is not just the flavor profile, but the technique that locks in texture and taste. I’ve discovered that using a combination of light corn syrup and dark brown sugar creates a caramelized filling that’s both glossy and slightly thick. The crust is a buttery, flaky base that holds the filling without becoming soggy, thanks to a careful balance of flour, butter, and a touch of powdered sugar. The pecans are toasted beforehand to bring out their natural oils and deepen the nutty flavor. And the final touch? A subtle hint of cinnamon that gives the bars a warm, comforting undertone.
I dare you to taste this and not go back for seconds. If you’ve ever struggled with a pie crust that turns out too dense or a filling that’s too sweet, you’re not alone. I’ve had friends try this recipe, only to find the bars too gooey, and they’ve learned to adjust the sugar ratio. The result? Bars that are firm enough to hold their shape, yet soft enough to melt in your mouth. It’s the kind of dessert that feels like a holiday treat every day, whether you’re serving it at a brunch, gifting it to a friend, or enjoying it in the quiet of your own kitchen.
This is hands down the best version you’ll ever make at home. The combination of buttery crust, caramelized filling, and toasted pecans creates a flavor profile that’s both familiar and elevated. The subtle spice of cinnamon adds depth, while the use of light corn syrup keeps the filling glossy and smooth. And the best part? The recipe is easy enough for a beginner but sophisticated enough to impress even the most discerning dessert lovers. By the end of this guide, you’ll wonder how you ever made it any other way.
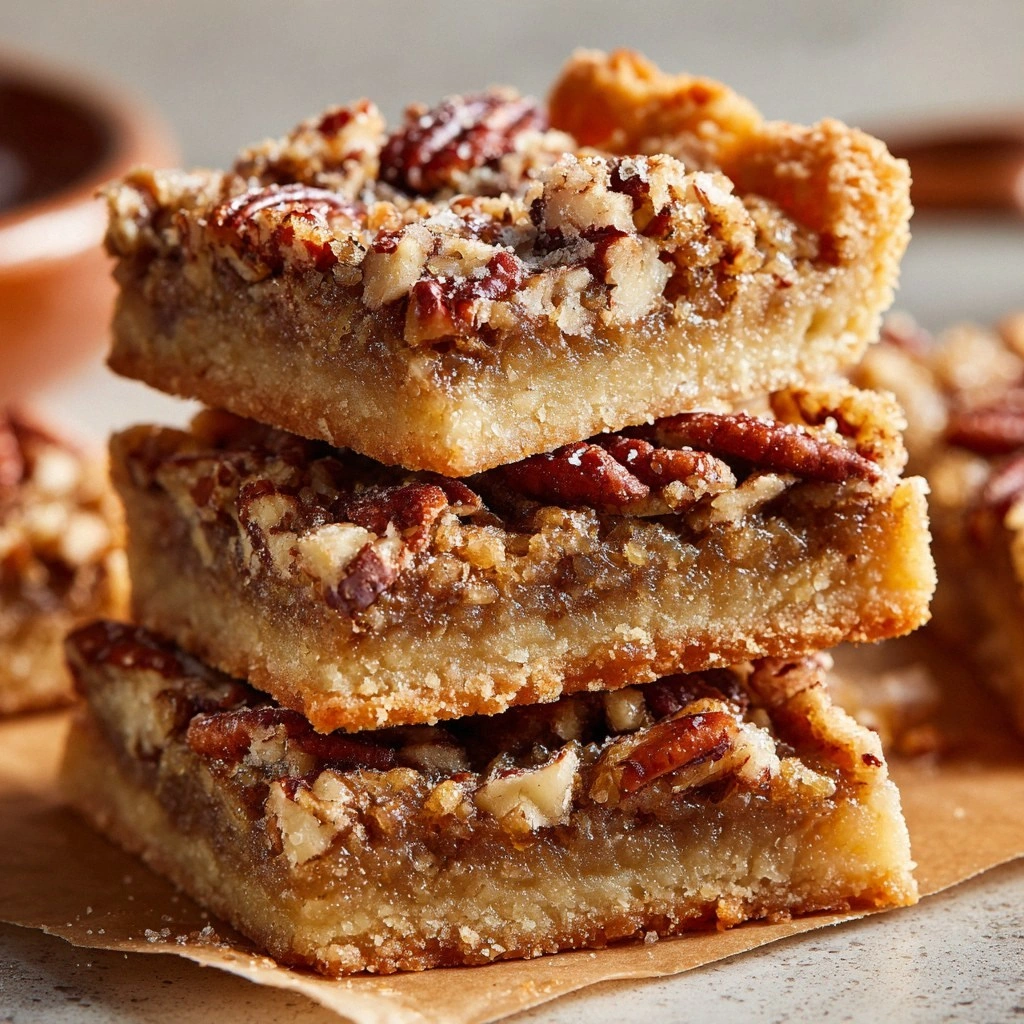
What Makes This Version Stand Out
- Texture: The crust is a buttery, flaky masterpiece that crisps to a golden perfection while staying tender enough to crumble with a satisfying snap.
- Flavor: Sweet, nutty, and a hint of spice intertwine, creating a complex taste that feels like a holiday treat every time you bite.
- Ease: The recipe requires minimal steps and no fancy equipment, making it accessible for bakers of all levels.
- Versatility: Swap in different nuts or add a swirl of chocolate for endless variations that keep the base delicious.
- Make‑ahead: These bars can be prepared a day ahead, refrigerated, and warmed to restore that freshly baked aroma.
- Crowd‑pleaser: Friends and family rave about the buttery crunch and caramelized sweetness, making it a staple for gatherings.
- Quality Ingredients: Using high‑quality pecans, light corn syrup, and real butter elevates the flavor profile beyond ordinary desserts.
- Visual Appeal: The glossy filling and toasted pecan shards give the bars a professional finish that looks as good as it tastes.
Alright, let's break down exactly what goes into this masterpiece. The next section will walk you through the ingredient groups that make this recipe sing.
Inside the Ingredient List
The Flavor Base
The foundation of our bars starts with a buttery crust that’s both flaky and sturdy. All-purpose flour provides structure, while cold butter creates layers that puff up in the oven. Powdered sugar adds a subtle sweetness that balances the richness of the butter, and a pinch of salt enhances every flavor note. Baking powder ensures the crust rises slightly, giving it a light, airy quality that contrasts beautifully with the dense, sweet filling.
The Texture Crew
The filling’s texture hinges on the perfect balance of sugars and fats. Light brown sugar gives depth and caramel notes, while light corn syrup keeps the mixture glossy and prevents crystallization. Melted butter brings a silky mouthfeel, and the eggs act as a binder that sets the filling into a firm yet tender consistency. Vanilla extract rounds out the profile with a warm, aromatic finish.
The Unexpected Star
Toasted pecans are the unexpected star that elevates the bars from good to unforgettable. By toasting the nuts before adding them, you release their natural oils and enhance their nutty aroma. The slight bitterness that emerges from toasting balances the sweetness of the filling, creating a harmonious flavor profile that satisfies the palate. If you prefer a milder nut flavor, you can use raw pecans, but the toasted version offers a depth that’s hard to beat.
The Final Flourish
A dusting of ground cinnamon on top adds a warm, spicy undertone that lingers in the mouth after each bite. A pinch of sea salt, just before baking, helps to accentuate the sweetness without overpowering the nutty flavor. These final touches transform the bars from a simple dessert into a sophisticated treat that feels like a holiday indulgence every time you serve it.
Everything's prepped? Good. Let's get into the real action.
The Method — Step by Step
- Preheat your oven to 350°F (175°C). Line a 9x13-inch baking pan with parchment paper, leaving a small overhang on two sides for easy lifting later. This step ensures the bars will bake evenly and makes cleanup a breeze. When the oven is preheated, you can move on to the crust without any interruptions.
- In a large mixing bowl, combine 1½ cups all‑purpose flour, ¼ cup powdered sugar, 1 teaspoon baking powder, and ½ teaspoon salt. Whisk these dry ingredients together until they’re evenly blended. This dry mix will form the backbone of your crust, providing structure and a slight sweetness that complements the filling.
- Cut ½ cup cold, cubed unsalted butter into the flour mixture using a pastry cutter or two forks until the mixture resembles coarse crumbs. The goal is to have small pea‑size butter pieces scattered throughout, which will melt during baking to create flaky layers. If you’re short on time, a food processor can achieve the same texture in seconds.
- Press the crumbly mixture firmly into the bottom of the prepared pan, forming an even layer that’s about 1¼ inches thick. Use the back of a spoon or your fingertips to smooth it out and eliminate any air pockets. This step is crucial; a dense crust will soak up the filling and lose its desired crispness.
- Bake the crust for 18–20 minutes, or until it turns a light golden brown. The crust should smell buttery and slightly nutty, indicating that the butter has melted and the flour has toasted just enough. Keep a close eye on it; overbaking can lead to a dry, crumbly texture.
- While the crust bakes, whisk together 1 cup packed light brown sugar, ½ cup light corn syrup, ¼ cup melted unsalted butter, 2 large eggs, and 1 teaspoon vanilla extract in a separate bowl. Stir until the mixture is smooth and glossy, with no lumps of sugar remaining. This filling will set into a firm yet tender consistency once it’s baked.
- Fold the toasted pecans into the filling mixture, reserving a handful for topping. The toasted pecans will add a crunchy texture and a deep, nutty flavor that balances the sweetness. If you prefer a more intense pecan taste, you can increase the amount to 1½ cups.
- Pour the filling over the pre‑baked crust, spreading it evenly with a spatula. Sprinkle the reserved pecans on top, pressing them lightly into the surface to ensure they adhere during baking. This step creates the signature look of a pecan pie, with golden, toasted nuts glistening on top.
- Return the pan to the oven and bake for an additional 25–30 minutes, or until the filling is set but still has a slight jiggle in the center. The edges should be a deep caramel color, and the top nuts should look glossy. This is the moment of truth where the bars transform into a dessert masterpiece.
- Once baked, remove the pan from the oven and allow the bars to cool on a wire rack for at least 30 minutes. This resting period lets the filling set completely and prevents it from sliding off the parchment when you cut it. The aroma during cooling is irresistible, and you’ll be tempted to taste a piece immediately.
- After the bars have cooled, use a sharp knife to cut them into squares or rectangles. If you prefer a cleaner edge, wipe the knife between cuts. The bars should hold their shape firmly, thanks to the firm filling and the supportive crust.
- Serve the bars at room temperature or slightly chilled. If you want to add a touch of decadence, drizzle a thin line of melted dark chocolate over the top, or dust with a light sprinkle of powdered sugar. These final touches elevate the bars from simple to spectacular.
That's it — you did it. But hold on, I've got a few more tricks that'll take this to another level. By mastering these nuances, you'll create bars that not only taste incredible but also look professionally plated. Whether you’re serving them at a brunch, gifting them to a friend, or indulging yourself, these bars will become your go-to dessert for any occasion.
Insider Tricks for Flawless Results
The Temperature Rule Nobody Follows
Many bakers bake pecan pies at a high temperature, thinking it will give the crust a crisp finish. In reality, a moderate 350°F (175°C) allows the crust to bake evenly while the filling sets without burning. If you notice the edges browning too quickly, tent the pan with foil to protect them. This small adjustment can mean the difference between a perfectly golden crust and a burnt one.
Why Your Nose Knows Best
The aroma of toasted pecans is a reliable indicator of their readiness. If the nuts smell nutty and slightly smoky, they’re ready to be folded into the filling. A fresh, raw scent means you haven’t toasted them enough, which can result in a bland flavor. Trust your nose; it’s a seasoned judge of nutty perfection.
The 5-Minute Rest That Changes Everything
After baking, let the bars rest for exactly five minutes before cutting. This brief pause allows the filling to set fully and the crust to firm up, preventing the bars from sliding apart. A common mistake is cutting immediately, which often results in a mess and uneven pieces.
Even Crust, Even Flavor
Press the crust firmly into the pan, but avoid packing it too tightly. A slightly loose crust allows the butter to melt evenly, creating a flaky texture. If you notice cracks forming during baking, gently press the crust back together before it sets.
Quick Cooling Trick
Place the cooling rack on a baking sheet to catch any drips, which helps keep the pan clean. If you’re short on space, use a large plate as a makeshift rack. This simple trick keeps your kitchen tidy and ensures no buttery crumbs ruin your countertop.
Creative Twists and Variations
Classic Pecan + Maple
Swap the light corn syrup for pure maple syrup to introduce a subtle, earthy sweetness. The maple’s natural molasses undertone pairs wonderfully with the pecans, creating a richer flavor profile. This version is perfect for fall gatherings or holiday parties.
Chocolate Swirl Variation
Fold dark chocolate chips into the filling before pouring it over the crust. The chocolate melts slightly, creating a decadent swirl that adds depth and an indulgent touch. Serve with a dollop of whipped cream for an extra luxurious experience.
Salted Caramel Pecan Bars
Replace the brown sugar with salted caramel sauce and add a sprinkle of flaky sea salt on top. The caramel’s buttery sweetness combined with the pecan crunch creates a bar that’s both sweet and savory. This variation is a crowd‑pleaser for those who love a touch of salty contrast.
Coconut Pecan Bars
Add shredded coconut to the filling for a tropical twist. The coconut’s natural sweetness pairs well with the nutty flavor of the pecans, while the toasted pecans provide a satisfying crunch. This version is ideal for beachside picnics or summer brunches.
Vegan Pecan Bars
Use coconut oil instead of butter and replace the eggs with flaxseed meal mixed with water. This creates a fully vegan version that still delivers on flavor and texture. The coconut oil adds a subtle tropical note that complements the pecans beautifully.
Gluten‑Free Pecan Bars
Swap all‑purpose flour for a gluten‑free blend that contains xanthan gum to maintain structure. The bars will still be flaky and tender, with the same nutty, caramelized flavor. This variation allows anyone with gluten sensitivities to enjoy the same indulgent treat.
Storing and Bringing It Back to Life
Fridge Storage
Store the bars in an airtight container at room temperature for up to 3 days, or refrigerate for up to 5 days. The airtight seal prevents the bars from drying out, keeping the crust crisp and the filling moist. If you notice the bars becoming slightly hard, let them sit at room temperature for 15 minutes before serving.
Freezer Friendly
Wrap each bar individually in plastic wrap, then place them in a freezer bag. Freeze for up to 3 months. When you’re ready to enjoy, thaw the bars at room temperature for 30 minutes before reheating. This method preserves the bars’ texture and flavor while allowing you to enjoy them anytime.
Best Reheating Method
To reheat, place the bars on a baking sheet and warm them in a preheated 350°F (175°C) oven for 5–7 minutes. For a quicker method, microwave on low power for 20–30 seconds, checking frequently to avoid overcooking. A tiny splash of water before reheating steams the bars back to perfection, restoring their buttery softness.